So, I wanted to wrap a scabbard in leather. And I want the leather to be black. Also, I want to do this in similar fashion to how it was done in medieval Europe. I read at this website that you simply soak vegetable tanned leather in rusty water. So here goes!
I started with about 8"x36" of 3-4 oz vegetable tanned cowhide. Several weeks ago, I started some mild steel washers and nuts soaking in vinegar to rust them. It turned into a nasty rust soup and smelled like bad cider vinegar. I'm not using city tap water, since I don't want to introduce bleach into the mix, so I got several gallons of good country tap water.
The tannins in the leather chemically react with the rust to create a nice blue-black. I think one can get a similar effect with non-oxidized iron, but perhaps it takes longer? I've heard of boiling yellow dye in an iron pot to create a green, so the oxidization must not be essential. Just speculating, perhaps the oxidization speeds up the process of creating a black, since there is oxygen present as a catalyst?
...a quick google search...
Tannic acid reacts with iron oxide to create iron tannate. So the rust is essential to this process. This is the same process which is used in Rust Converter... Rust Converter, if you're not familiar with it, is available commercially to de-rust your rusty steel items you want to paint and are too lazy or busy to sand. More on Rust Converter later....
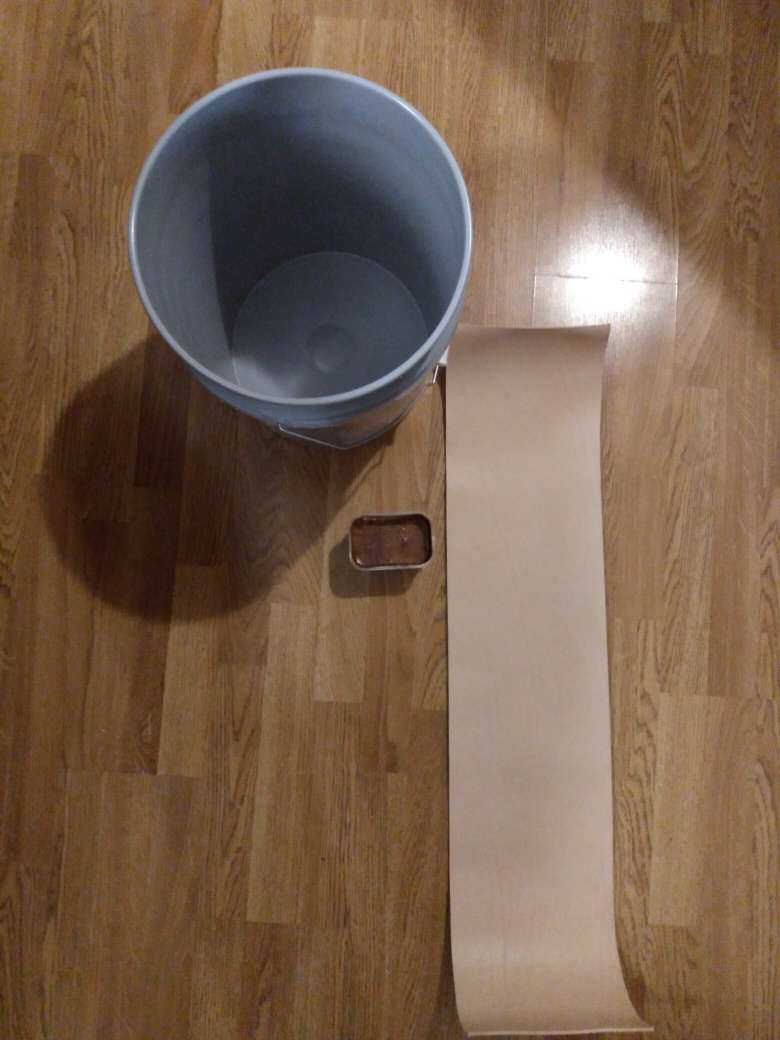
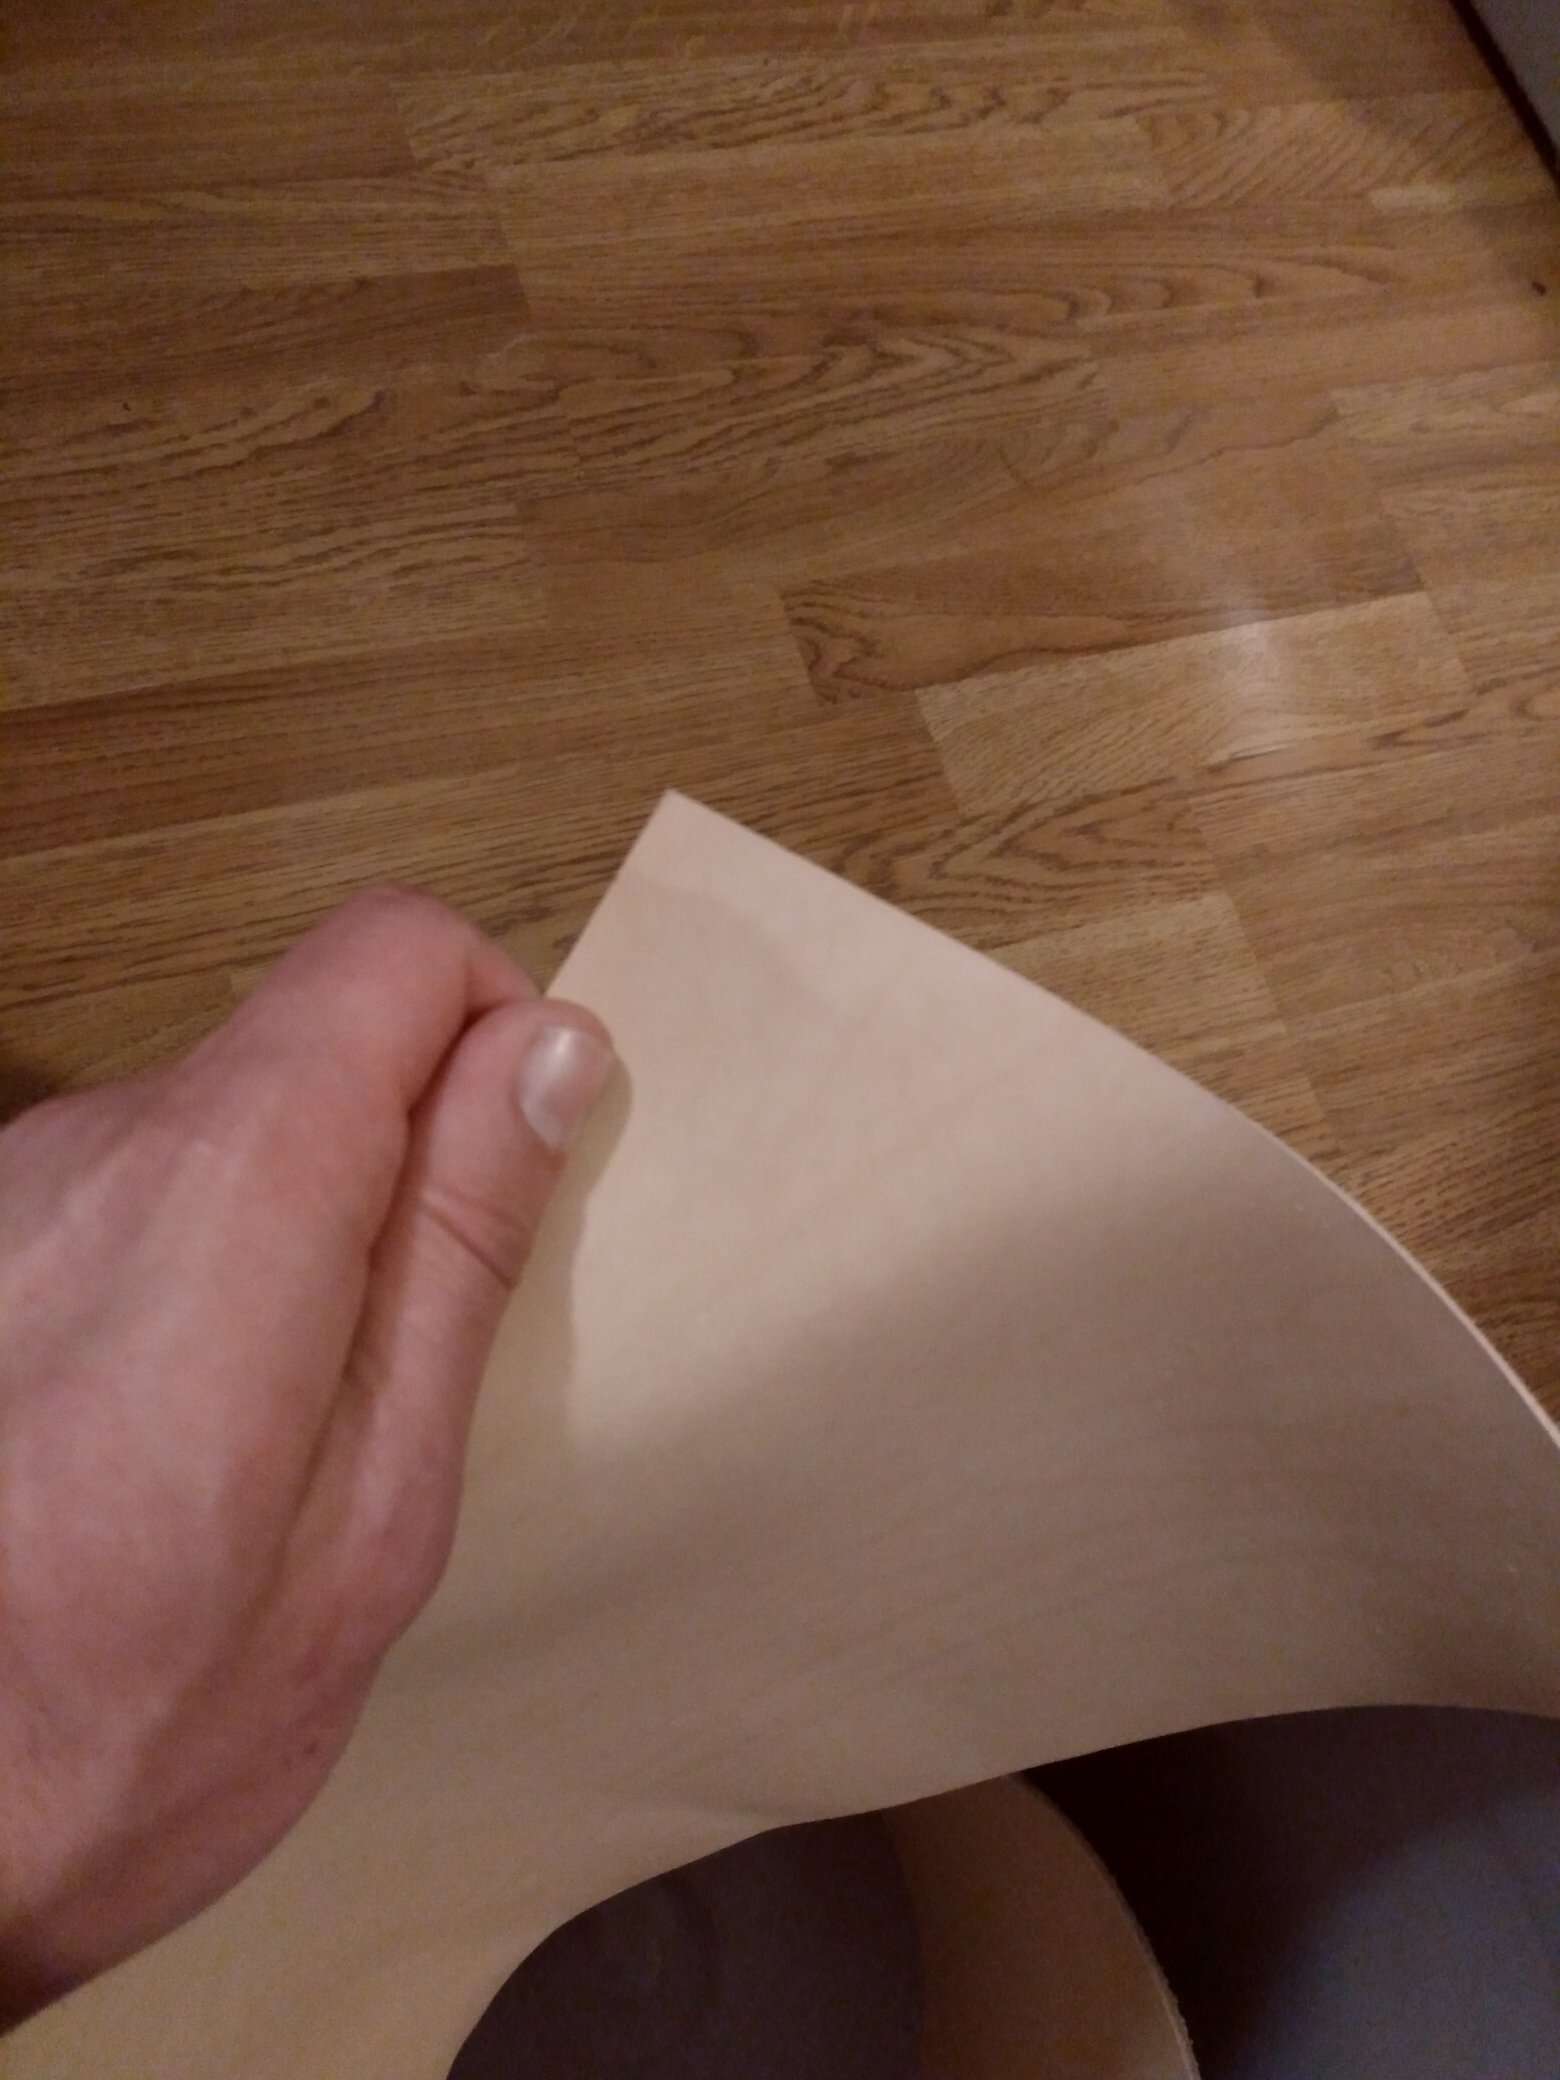
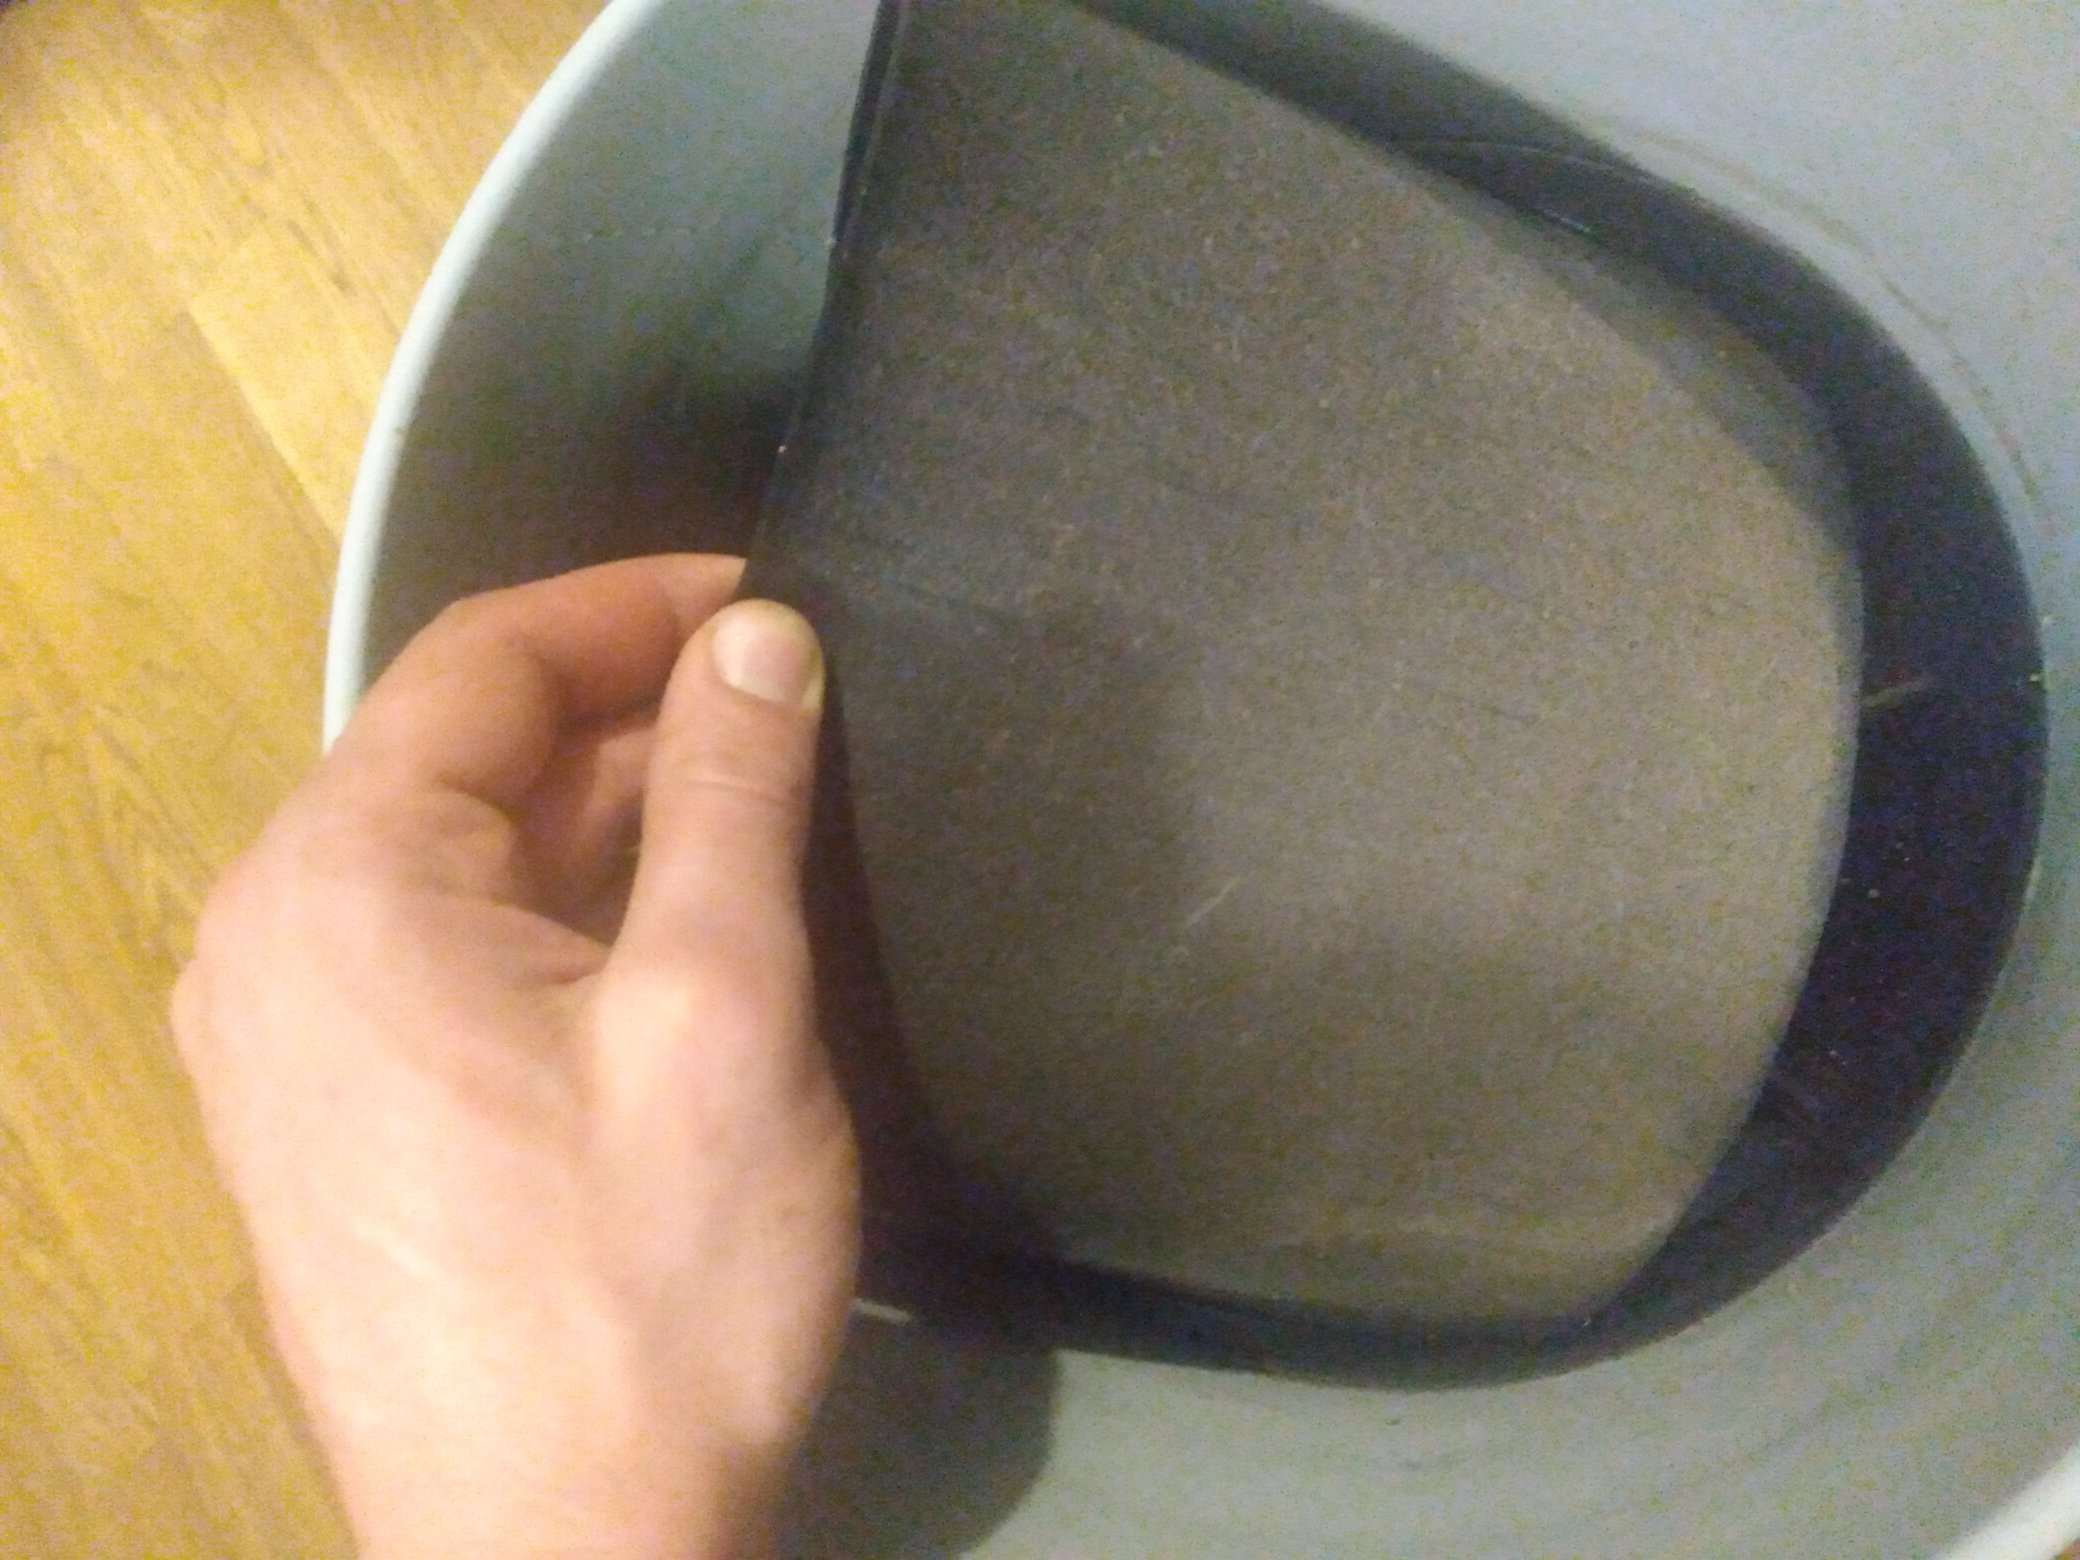
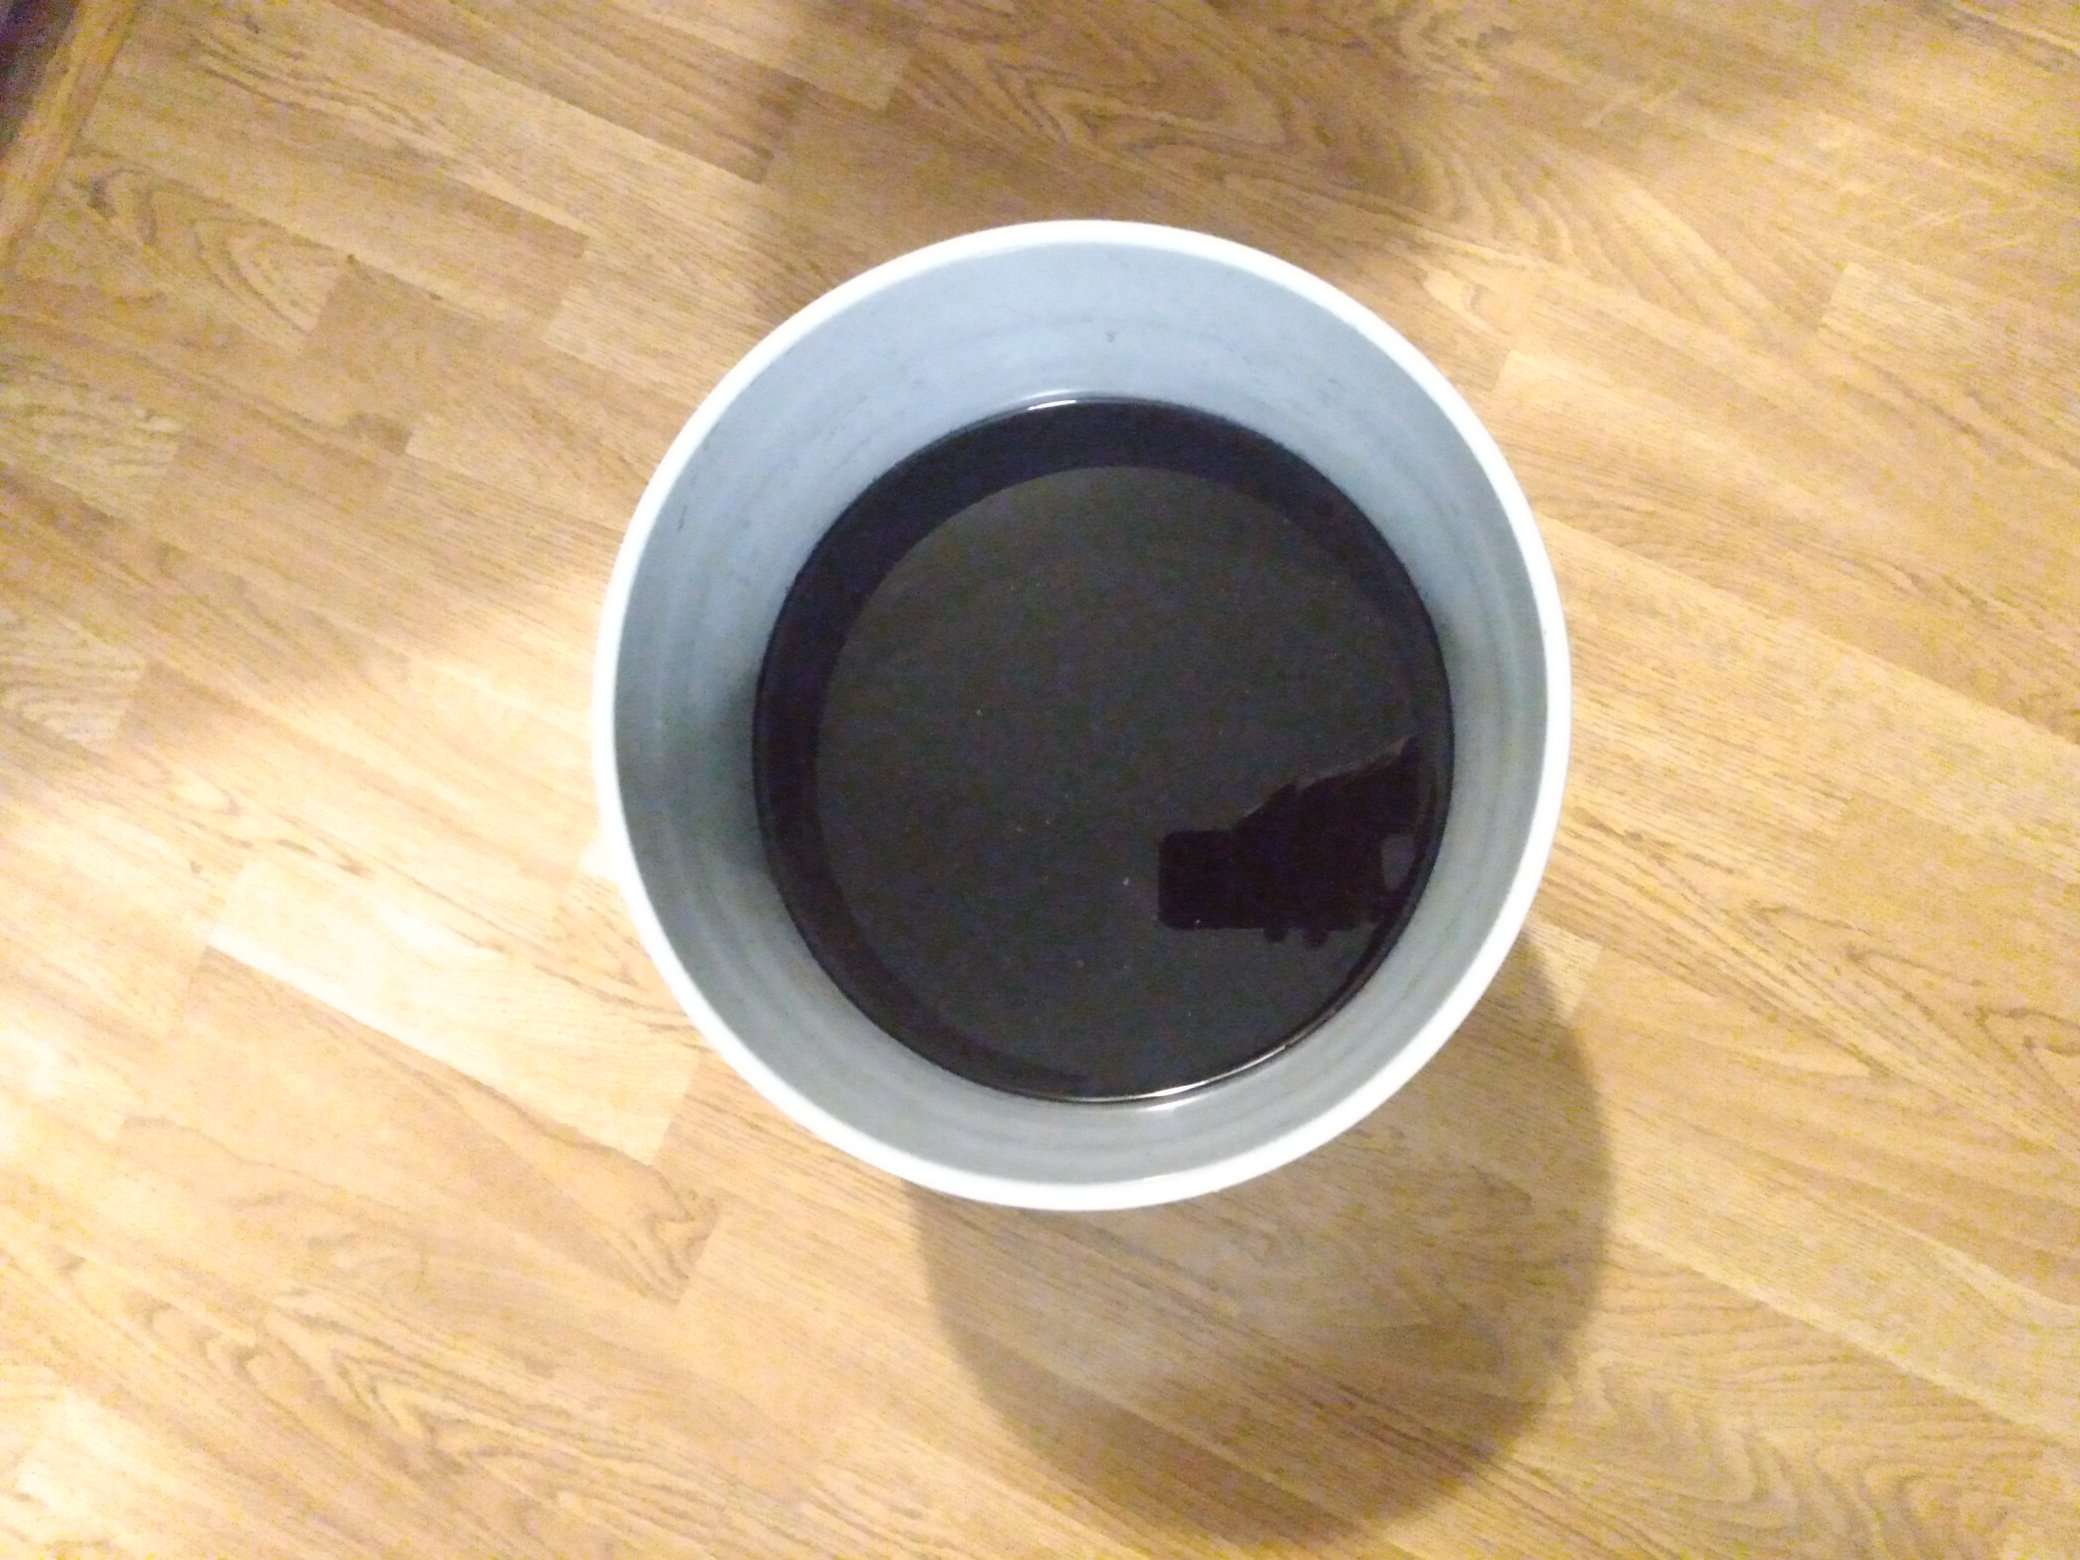
Here are a few pics of the starting point. A few close-ups of the pale, natural toned leather as well as a picture of the leather in the bucket to give a better idea of what I'm starting out with.
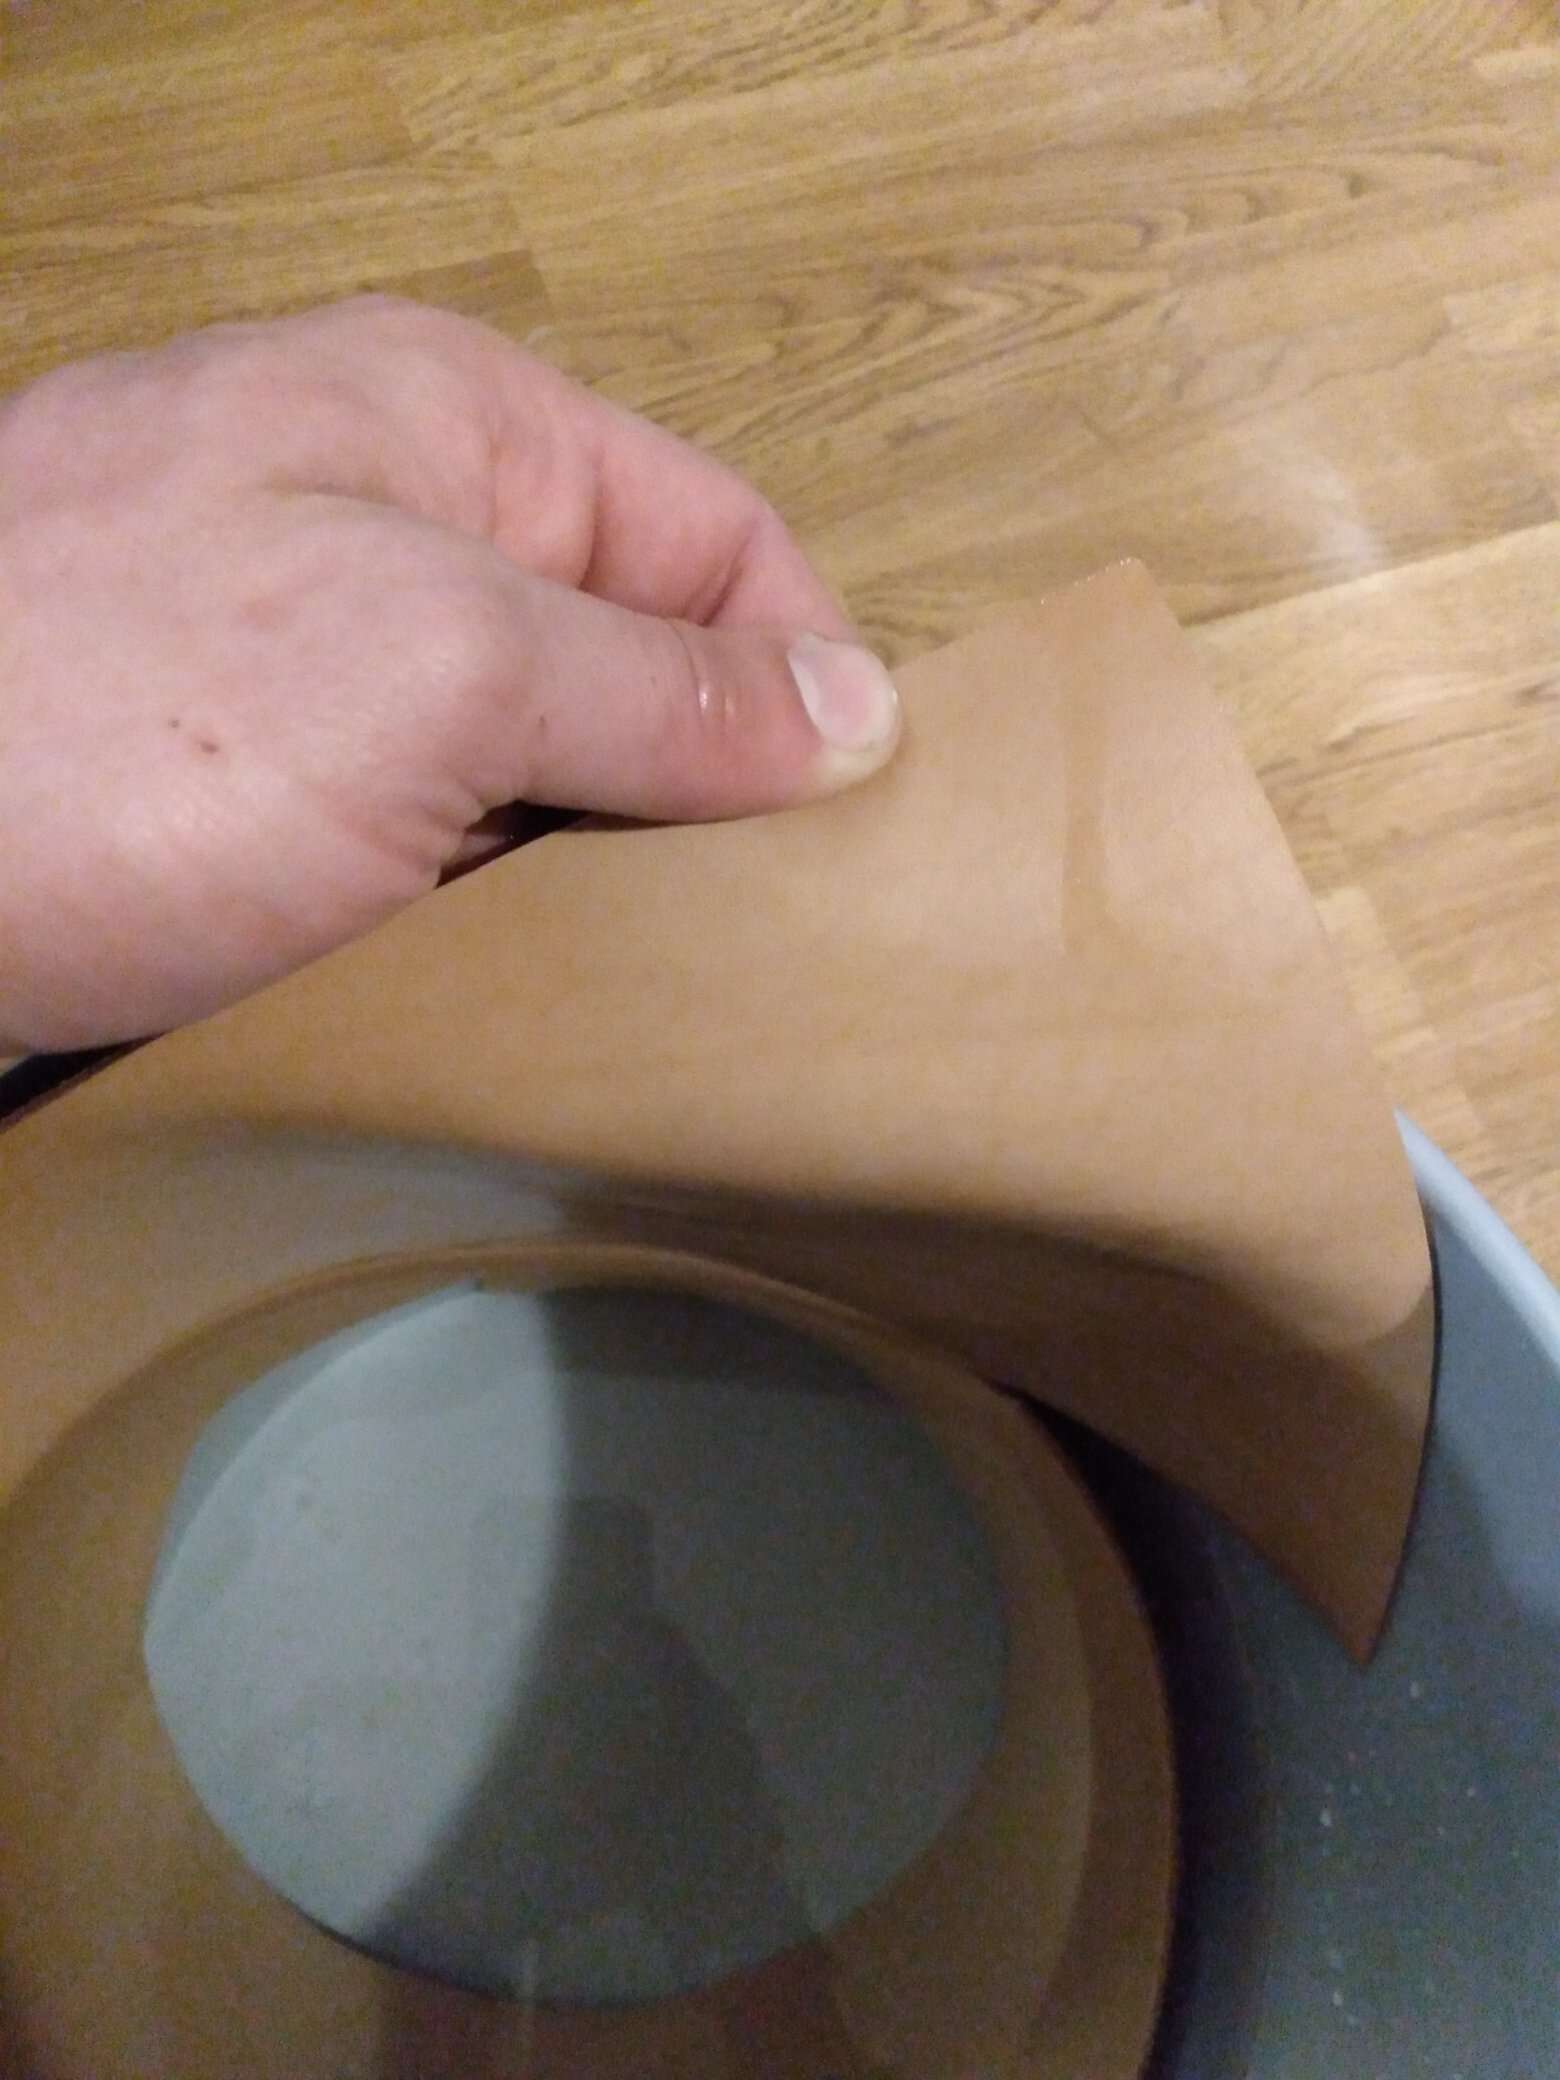
Below is the leather in the bucket, along with about 4 gallons of water and the rust solution. It started out as a nasty rusty soup. I dumped in the whole container of rust, hardware, and vinegar... Remember that for later...

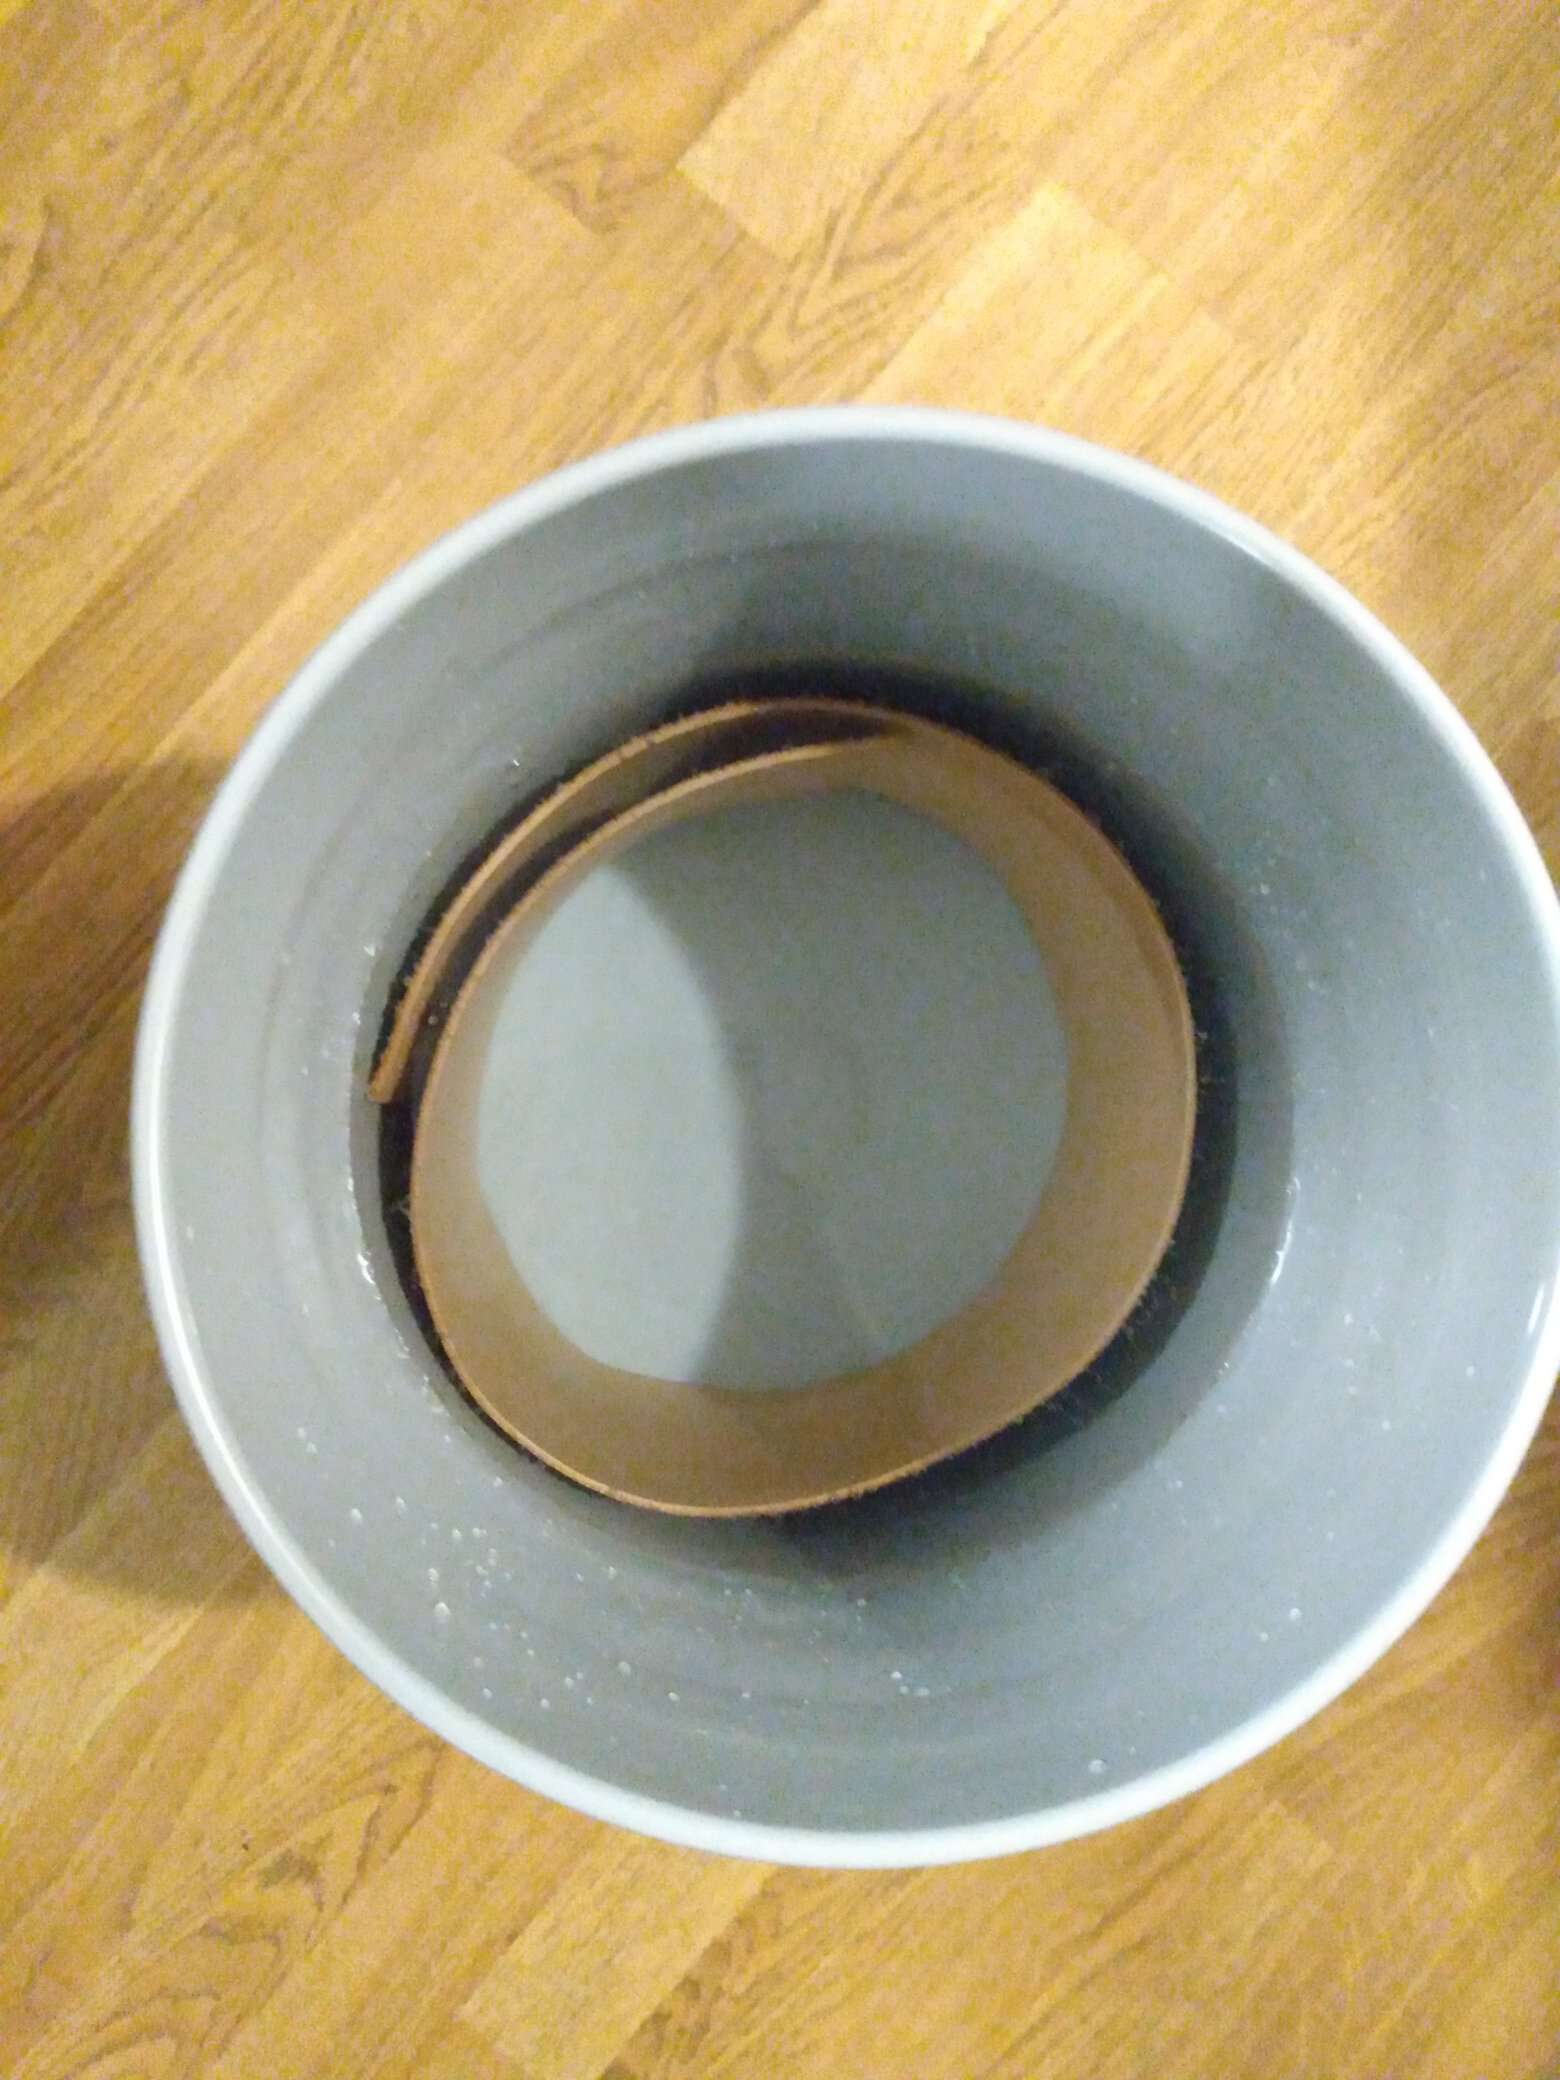
The leather took on just the slightest hint of blue very quickly. This was taken within minutes of adding the rust and water.
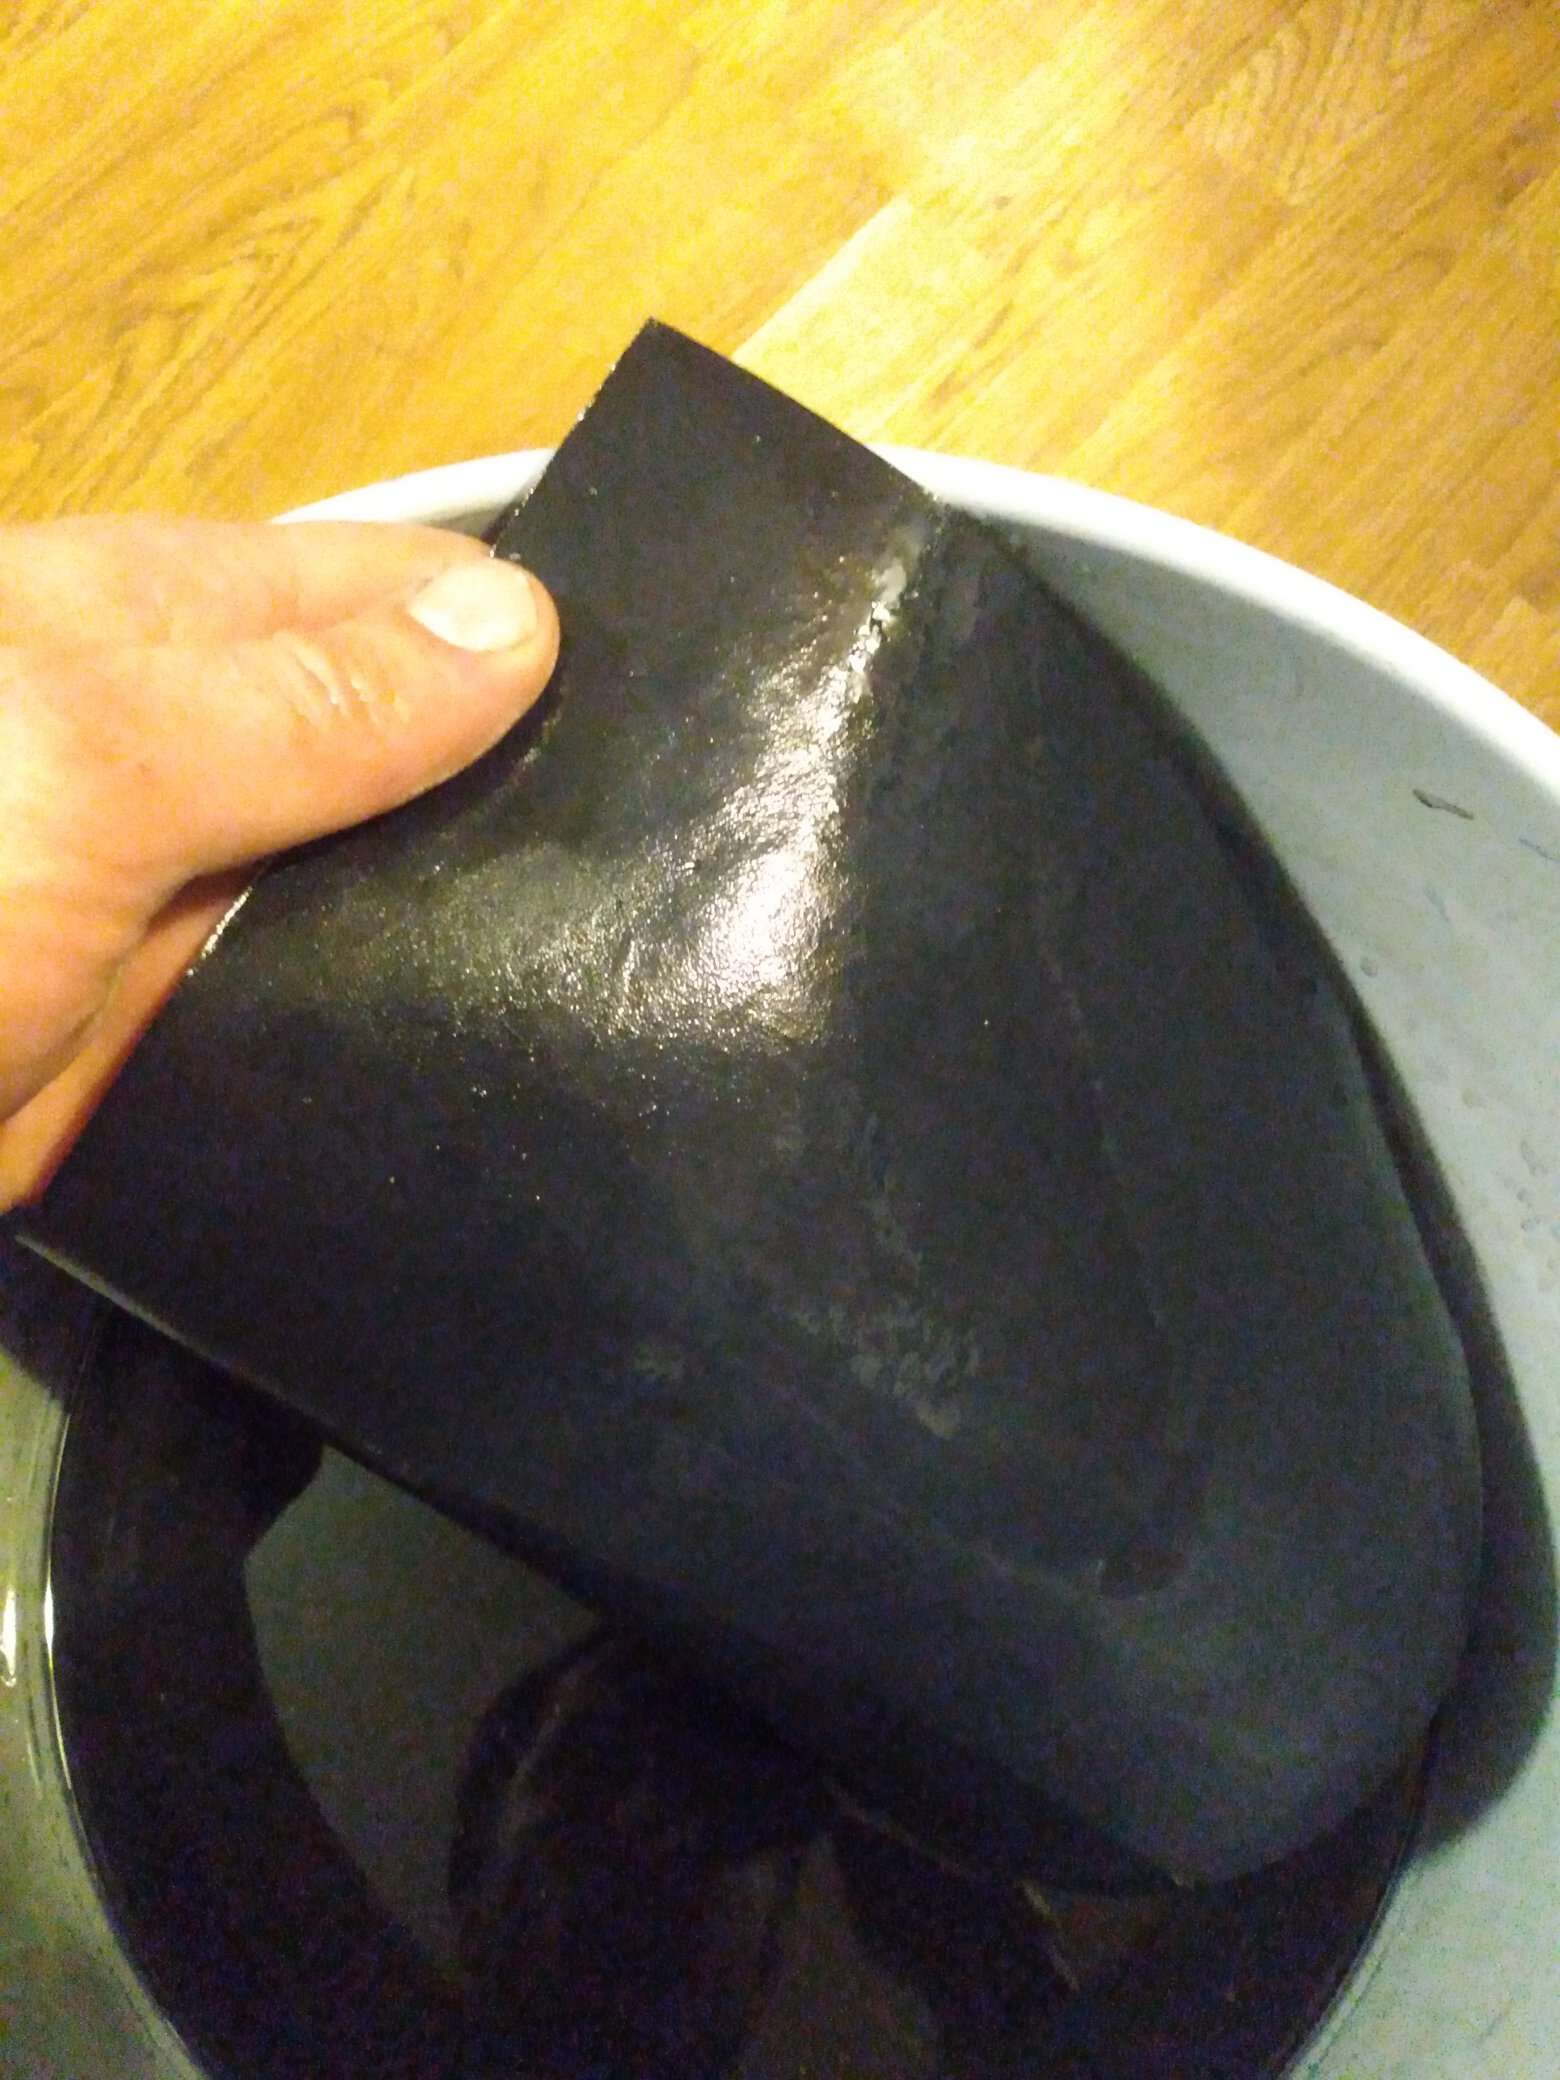
And two hours later... This worked pretty quickly!
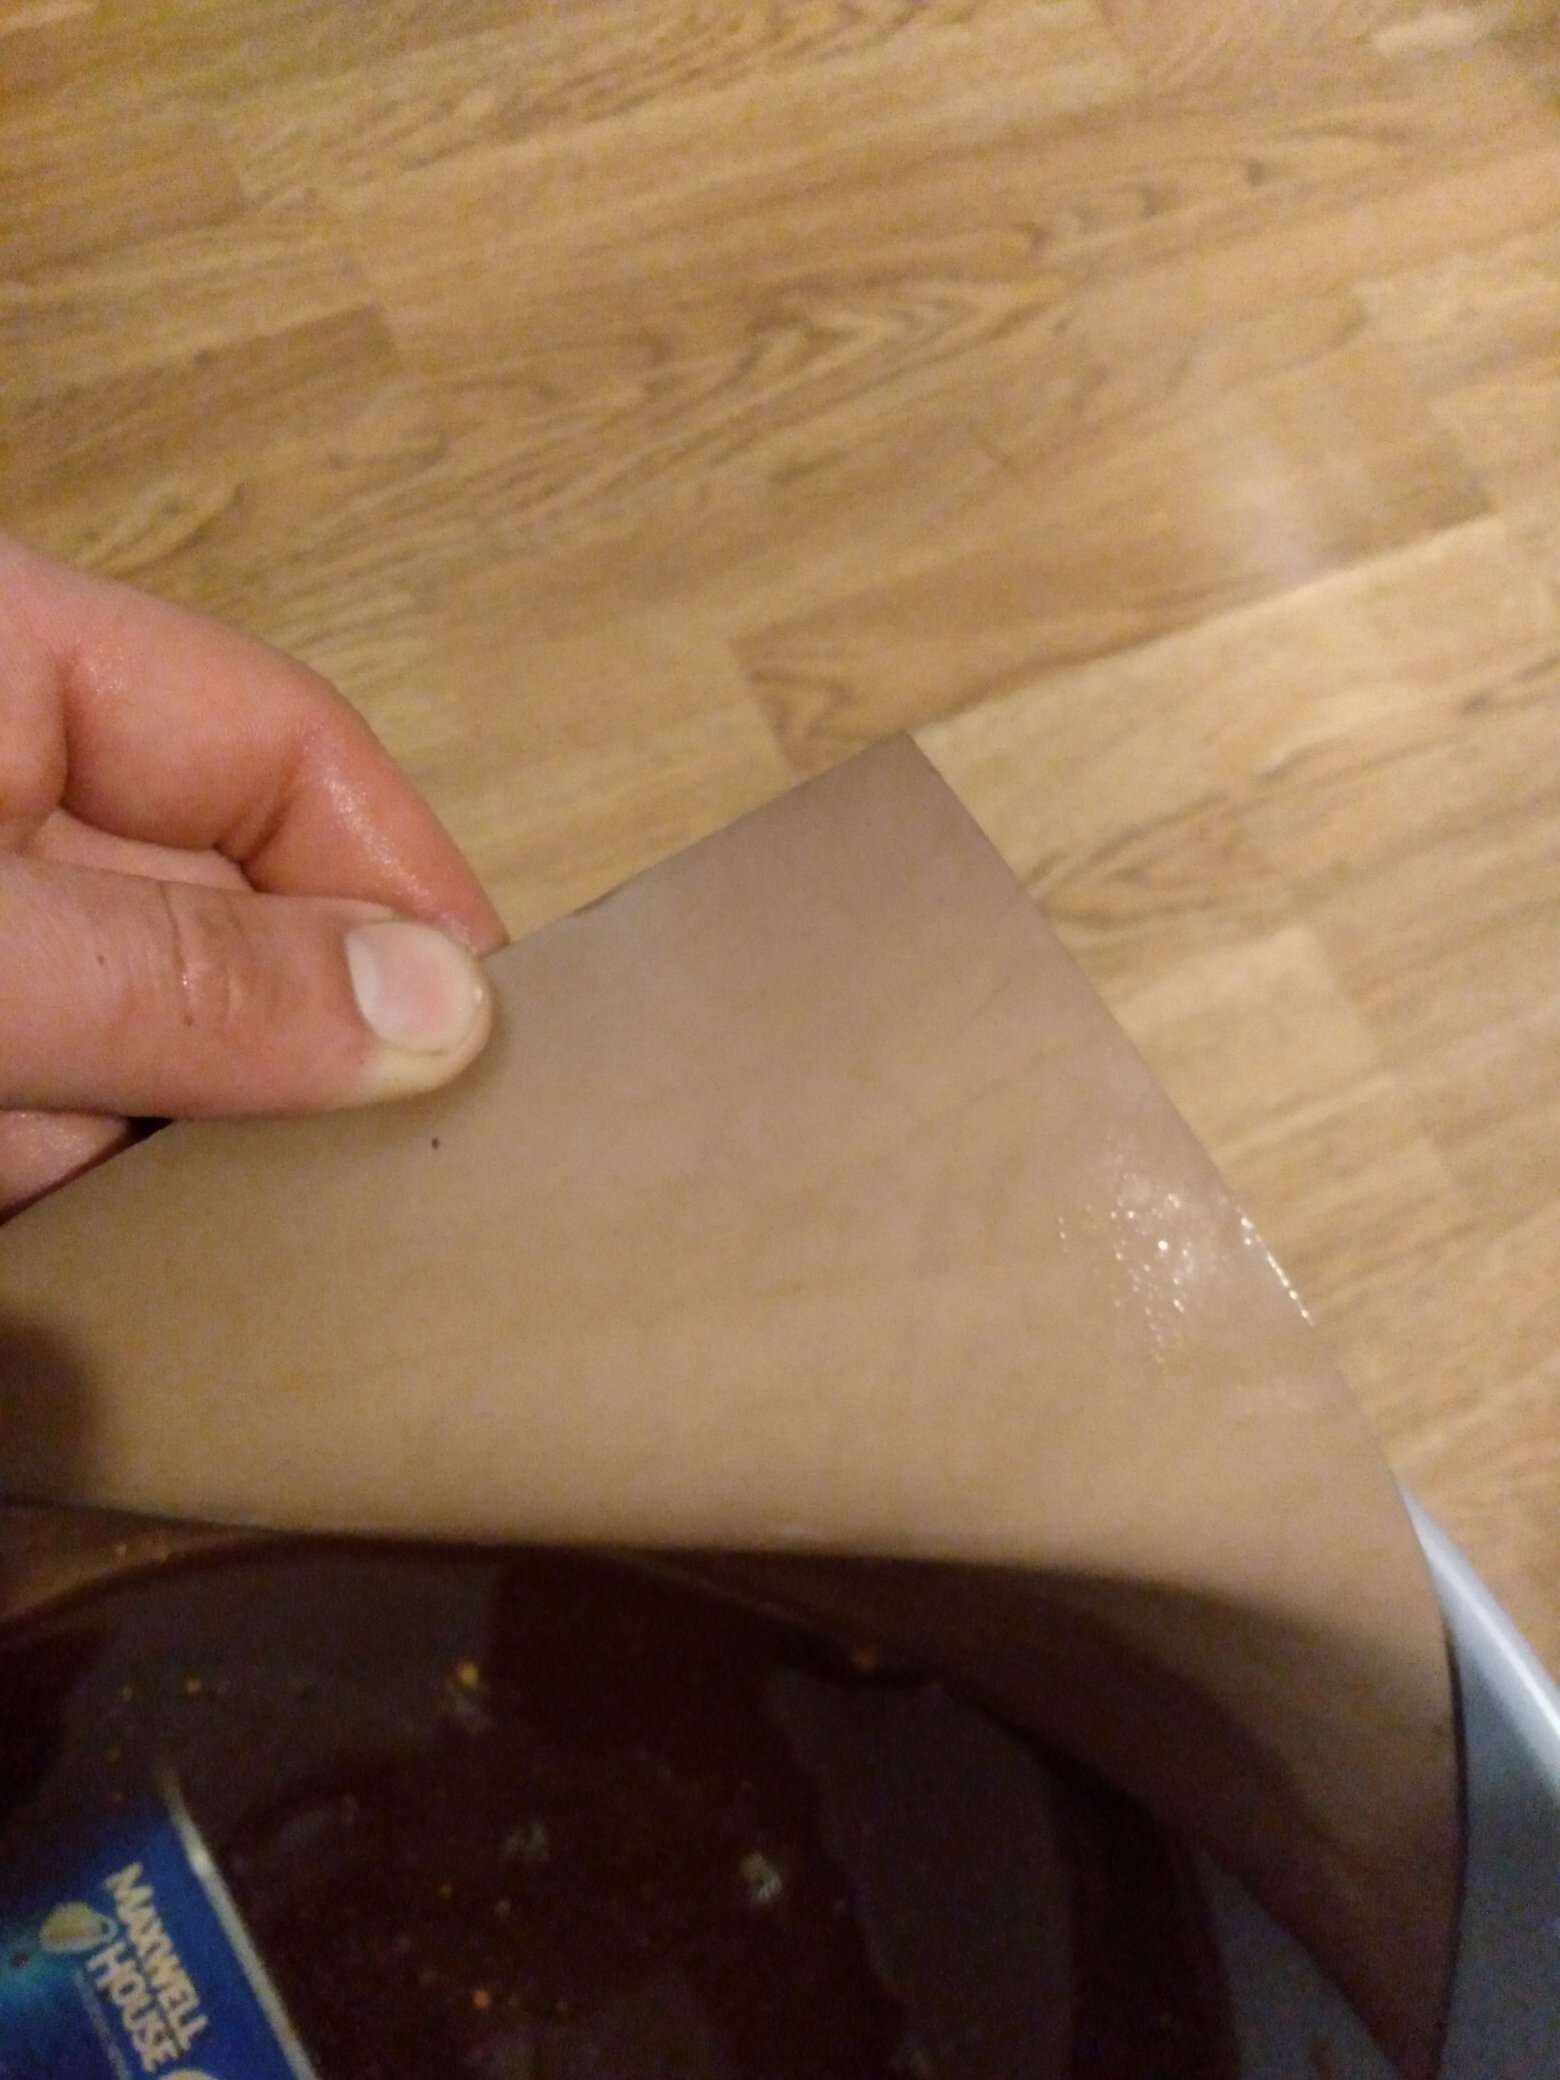
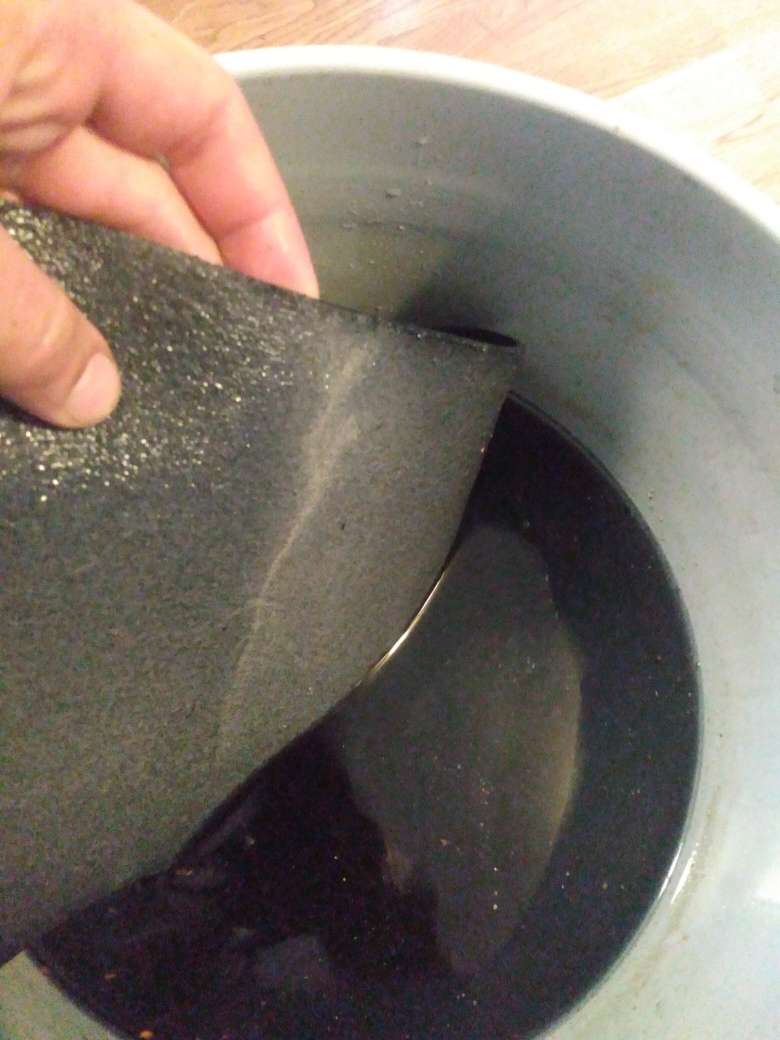
Here is the flesh side of the leather after two hours, as well as a picture of the water. The water has changed a lot in two hours. It is still a bit brown, but has darkened dramatically. Note that the part of the leather which was up is darker. The original blog I read surmised that the leather which had exposure to air became darker. I don't buy this theory. I think that the upper part of the leather (which in my case was submerged, not exposed to air) was able to expel more bubbles and become more permeated with the rust-water solution. I think I may have flipped the leather at this point to equalize this darkening effect.
The next morning, about 11 hours into the soak - the leather looks about the same.

And here are pictures from 26 hours of soaking. The leather has turned a nice blue-black. You can't see in the picture as well, but it just isn't as intense as I would like. But, more time should help, right?
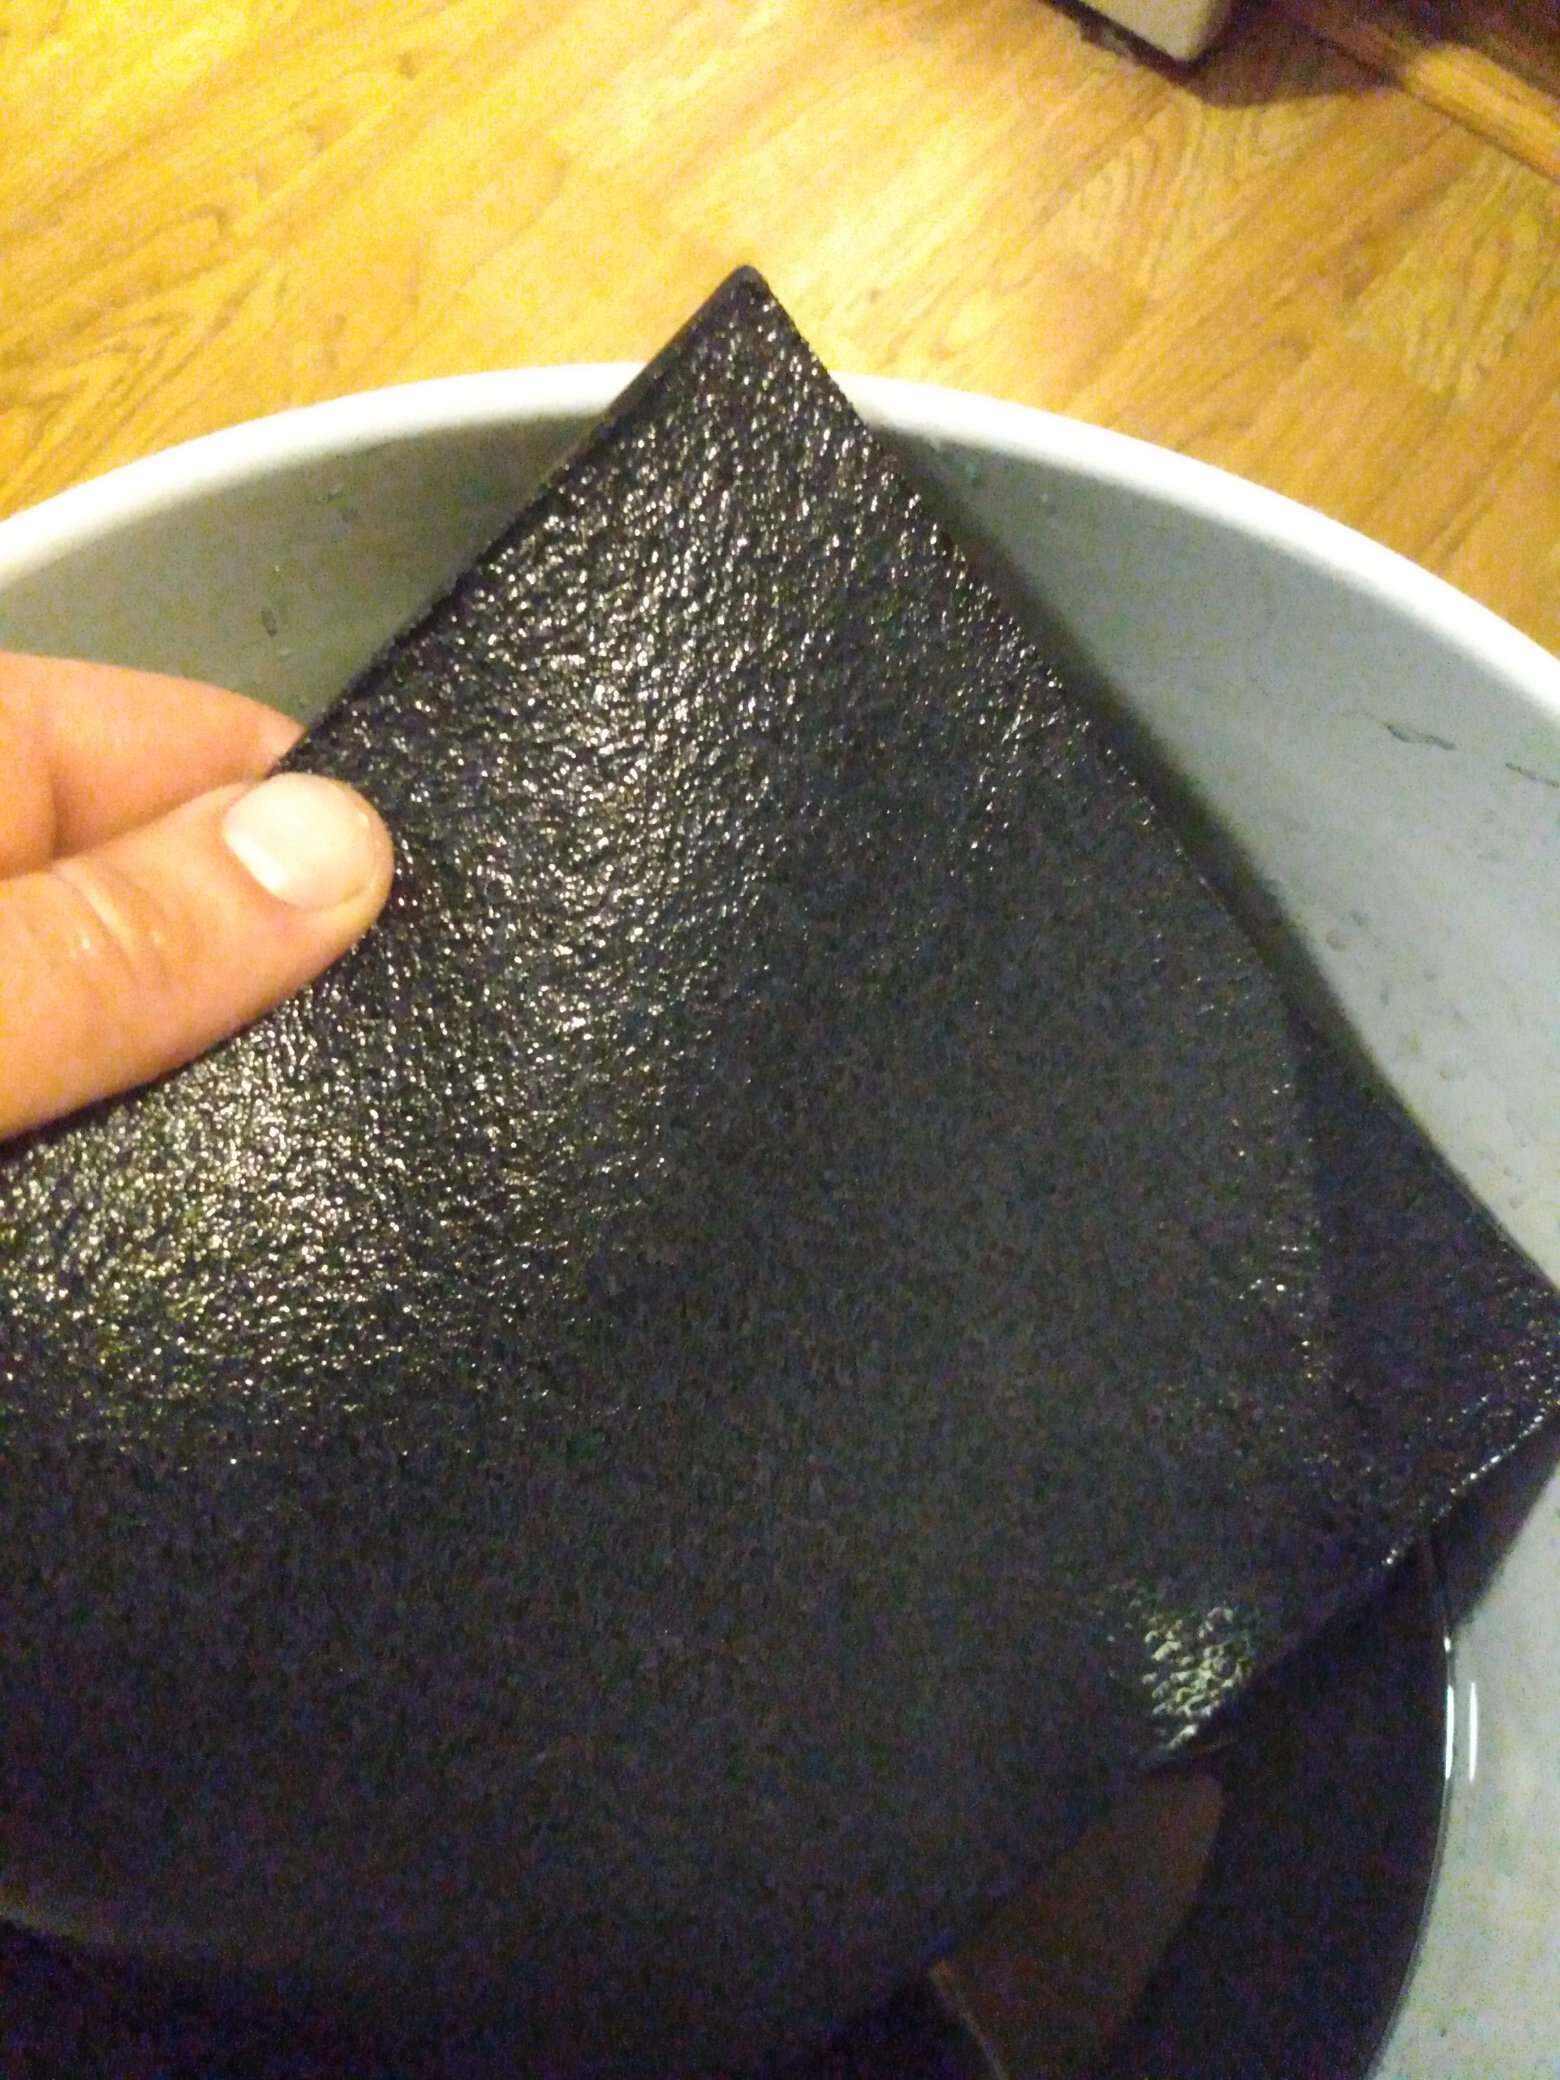
So, after about 50 hours of soaking, the leather seems to have plateaued. It's coming along, but not nearly as aggressively.
So I went diving.
And I found my steel hardware.
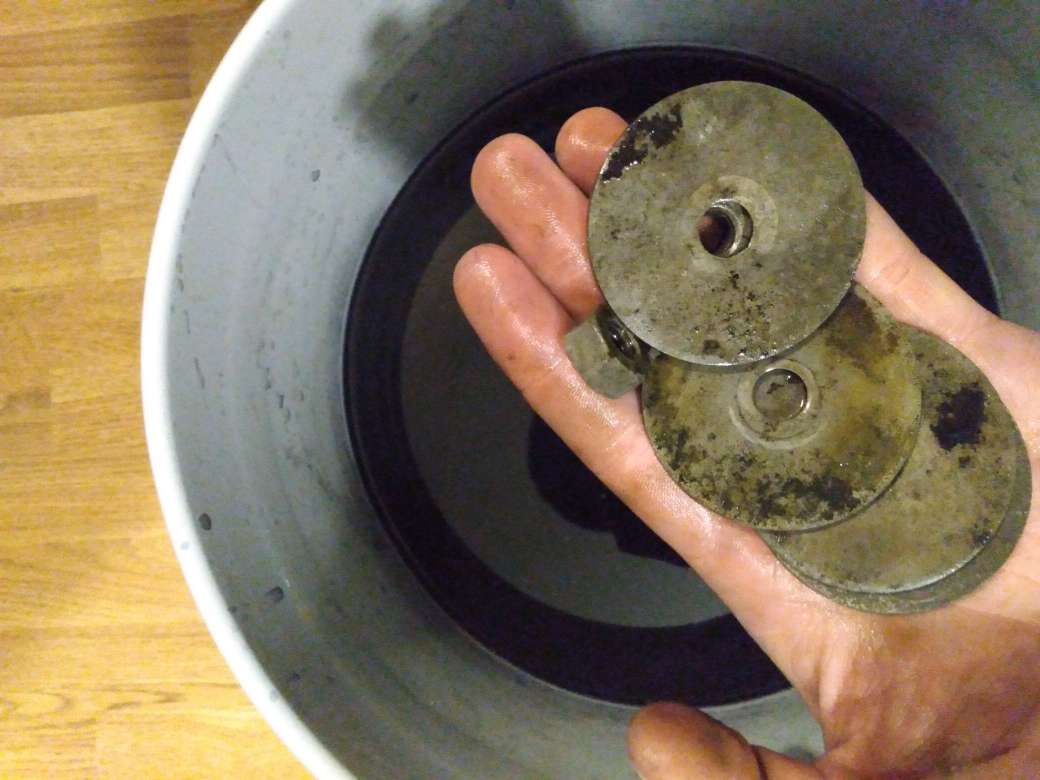
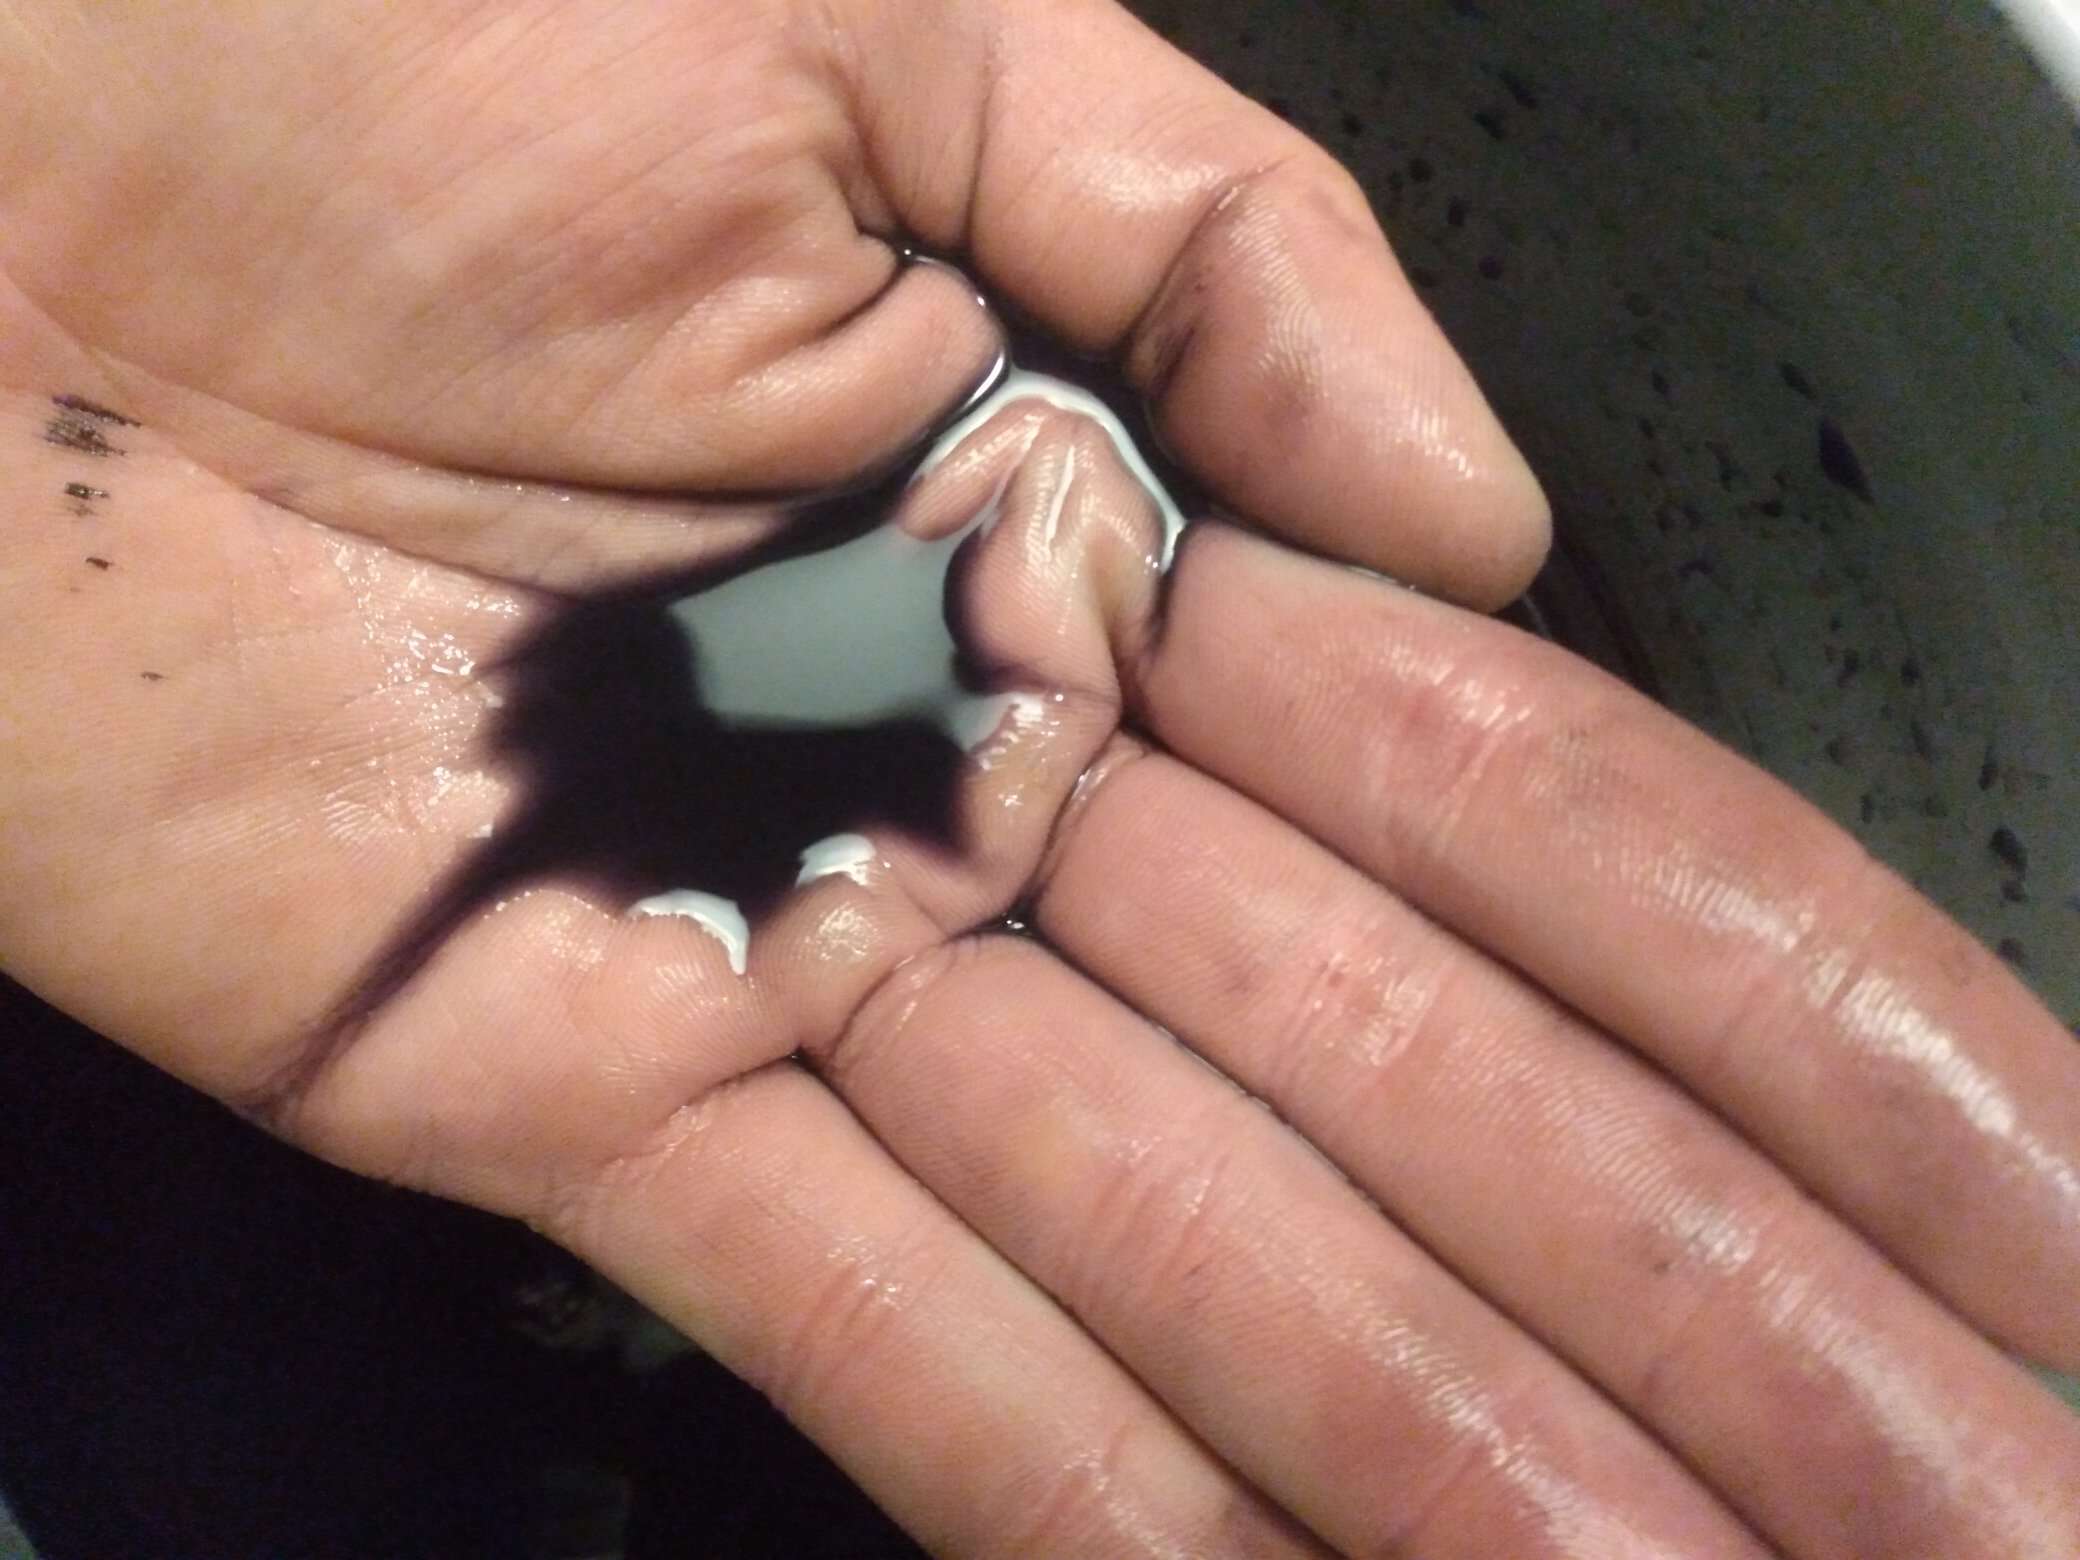
Now, I didn't grab a pic, but at the start, these were nasty orange. They are cleaned off now. Remember the Rust Converter? I think the tannins ran out of rust to convert! My initial assumption was that the steel would continue to rust in the dye solution, since it was aqueous and acidic (from both vinegar and tannic acid). Turns out I was wrong. My steel parts were effectively cleaned off and stabilized... Just a side note. This dye solution does darken one's hands, but only slowly. My hand was a little blackened after fishing for the hardware for a while. However, it seems to have mostly washed off.
So I put the hardware back into straight vinegar, and sat filing steel filings into the vinegar for a while to speed up the rust formation.
Then I had another idea...
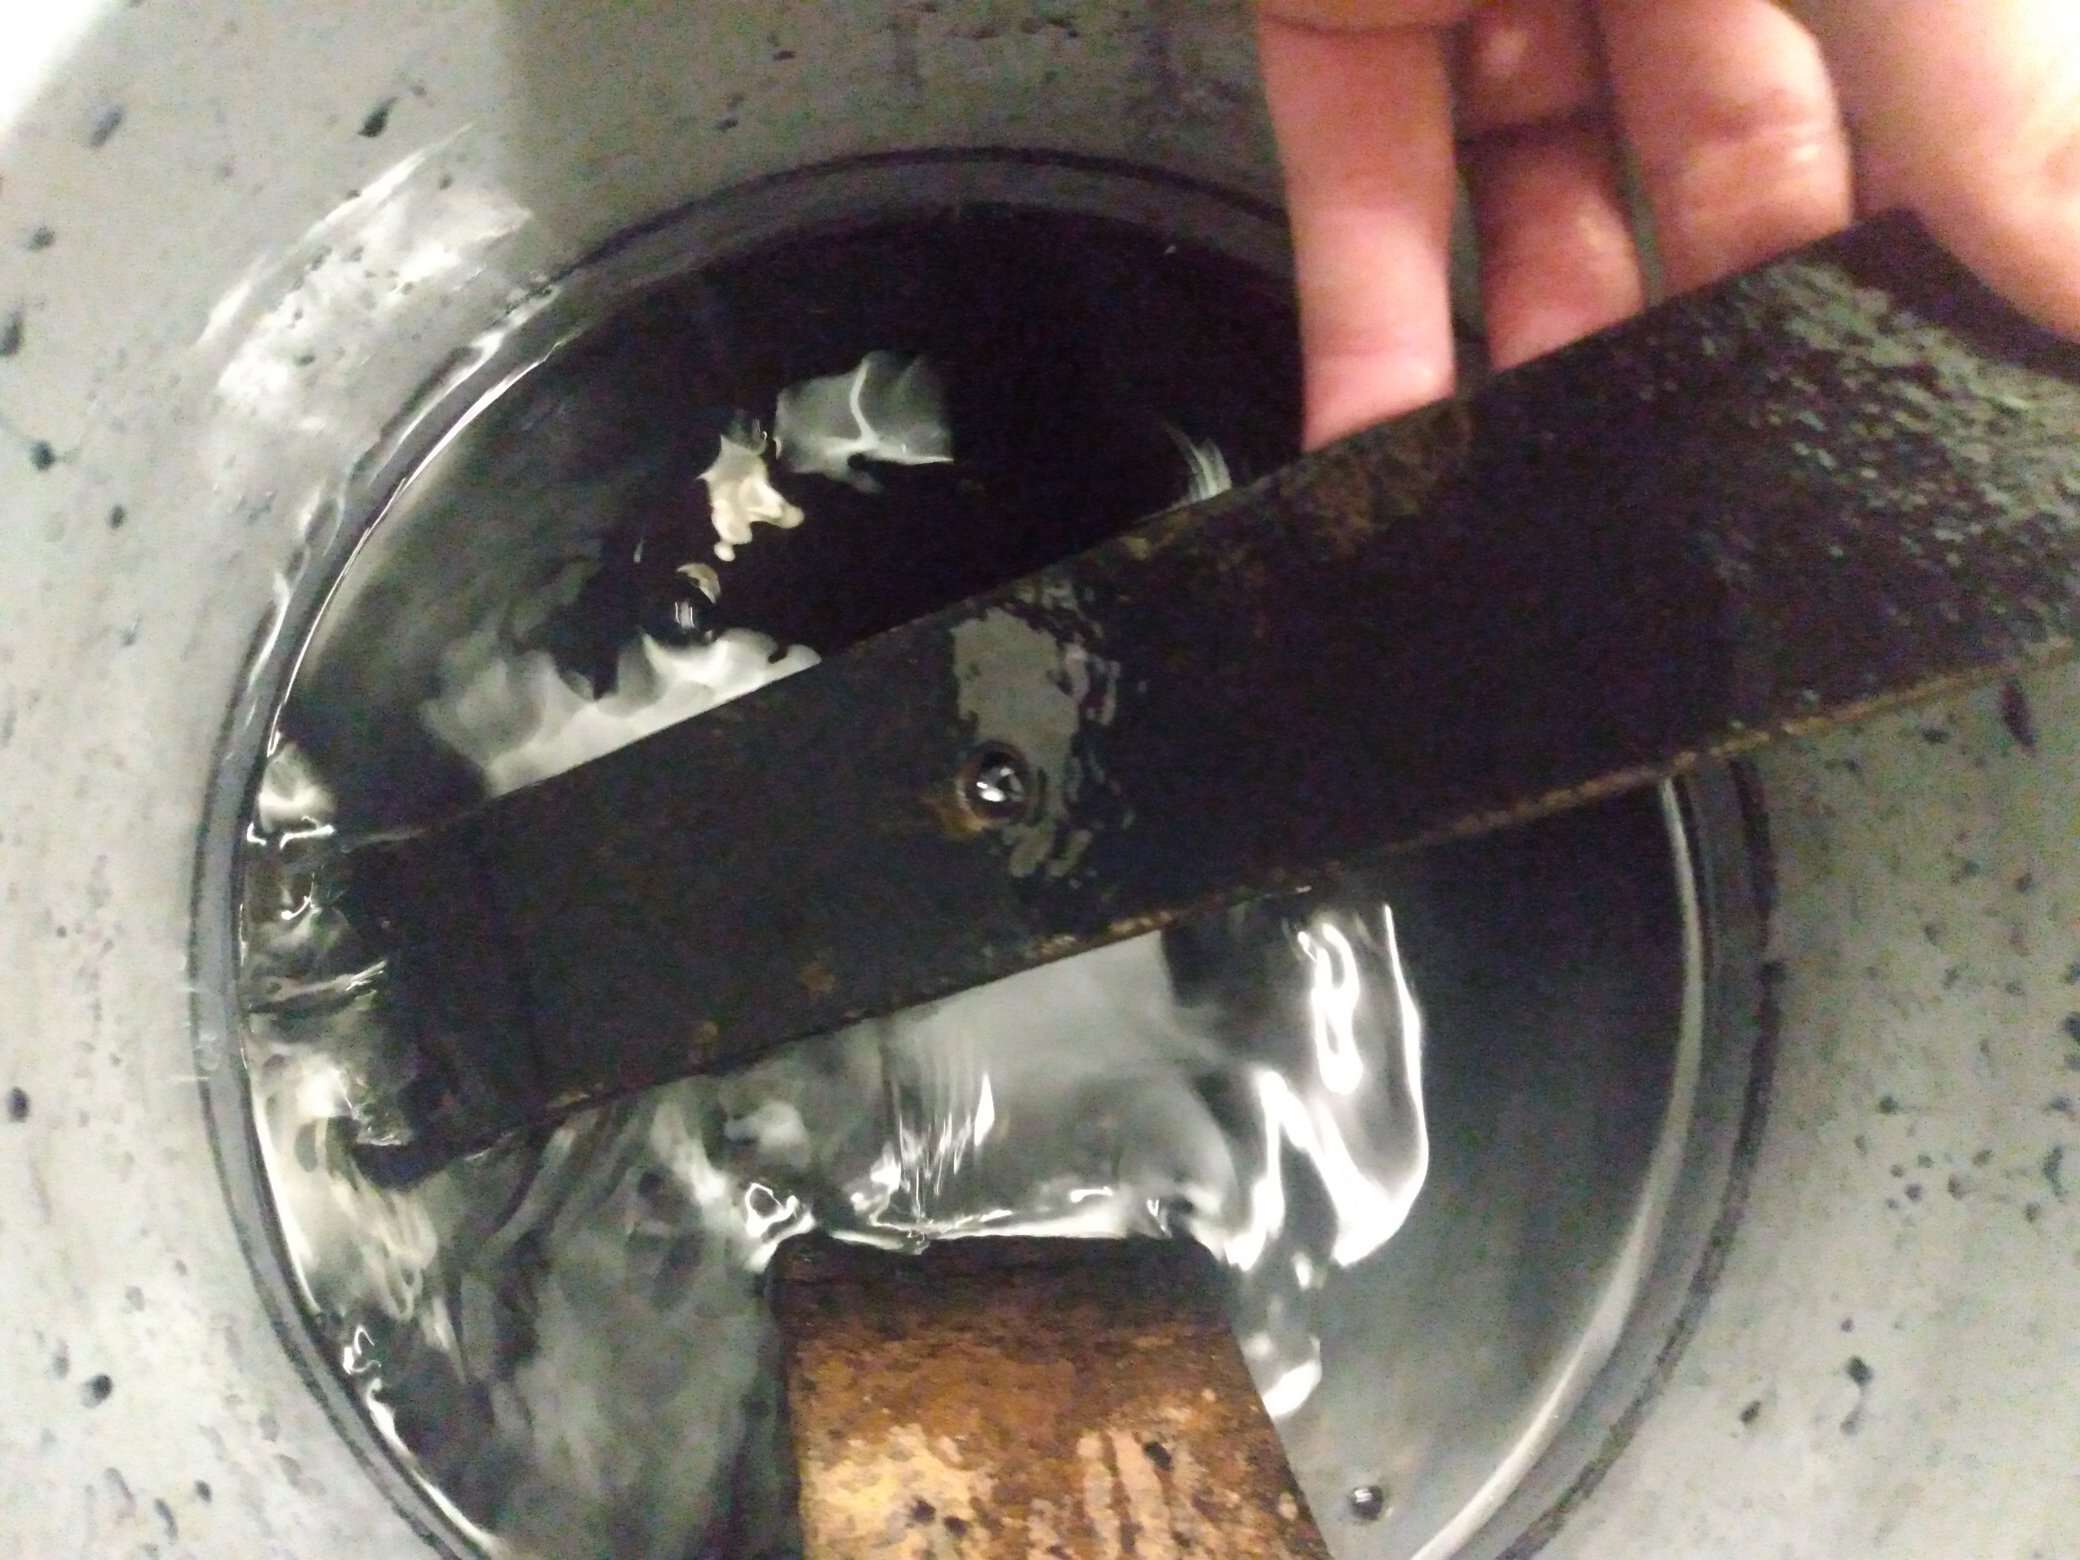
I have some rusty steel scrap sitting around, as well as a leaf spring I would like de-rusted. It's less work to let it sit in this solution than it is to actually clean it, so... That will provide something for the tannins to work on while my rust solution percolates...
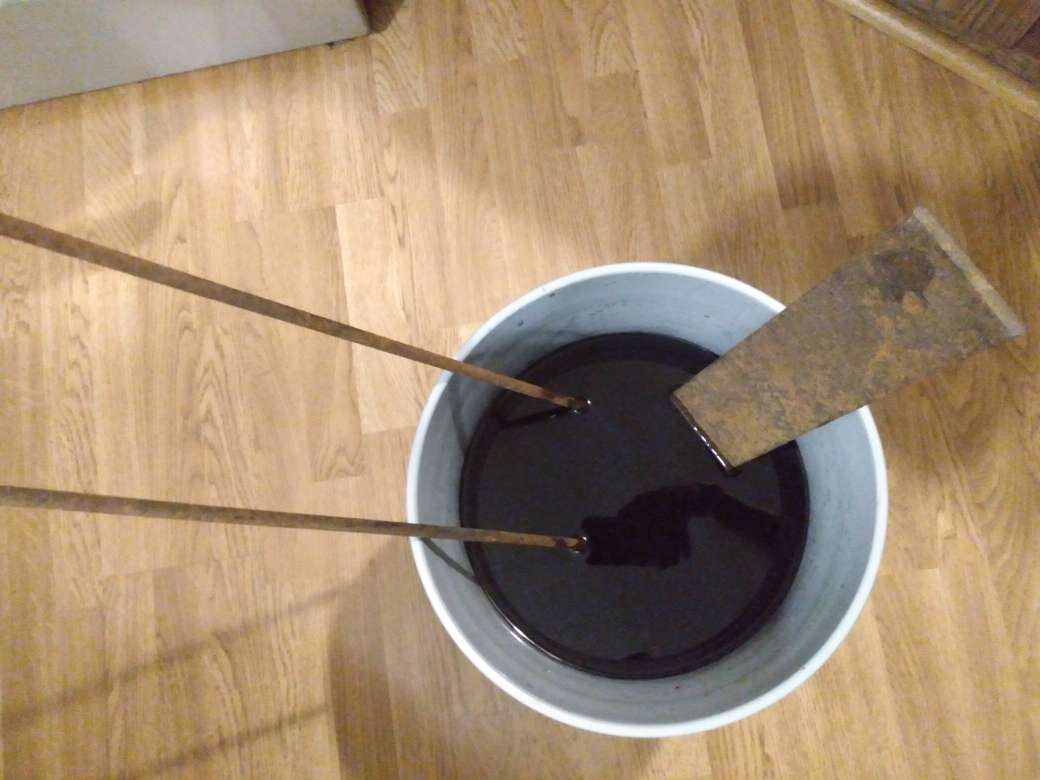
Four days later...
This is what happened to my scrap that I threw in the mix. It's stabilized and covered in black goo The leather was even more gooey. The black sticks to the hands and stains them slightly!
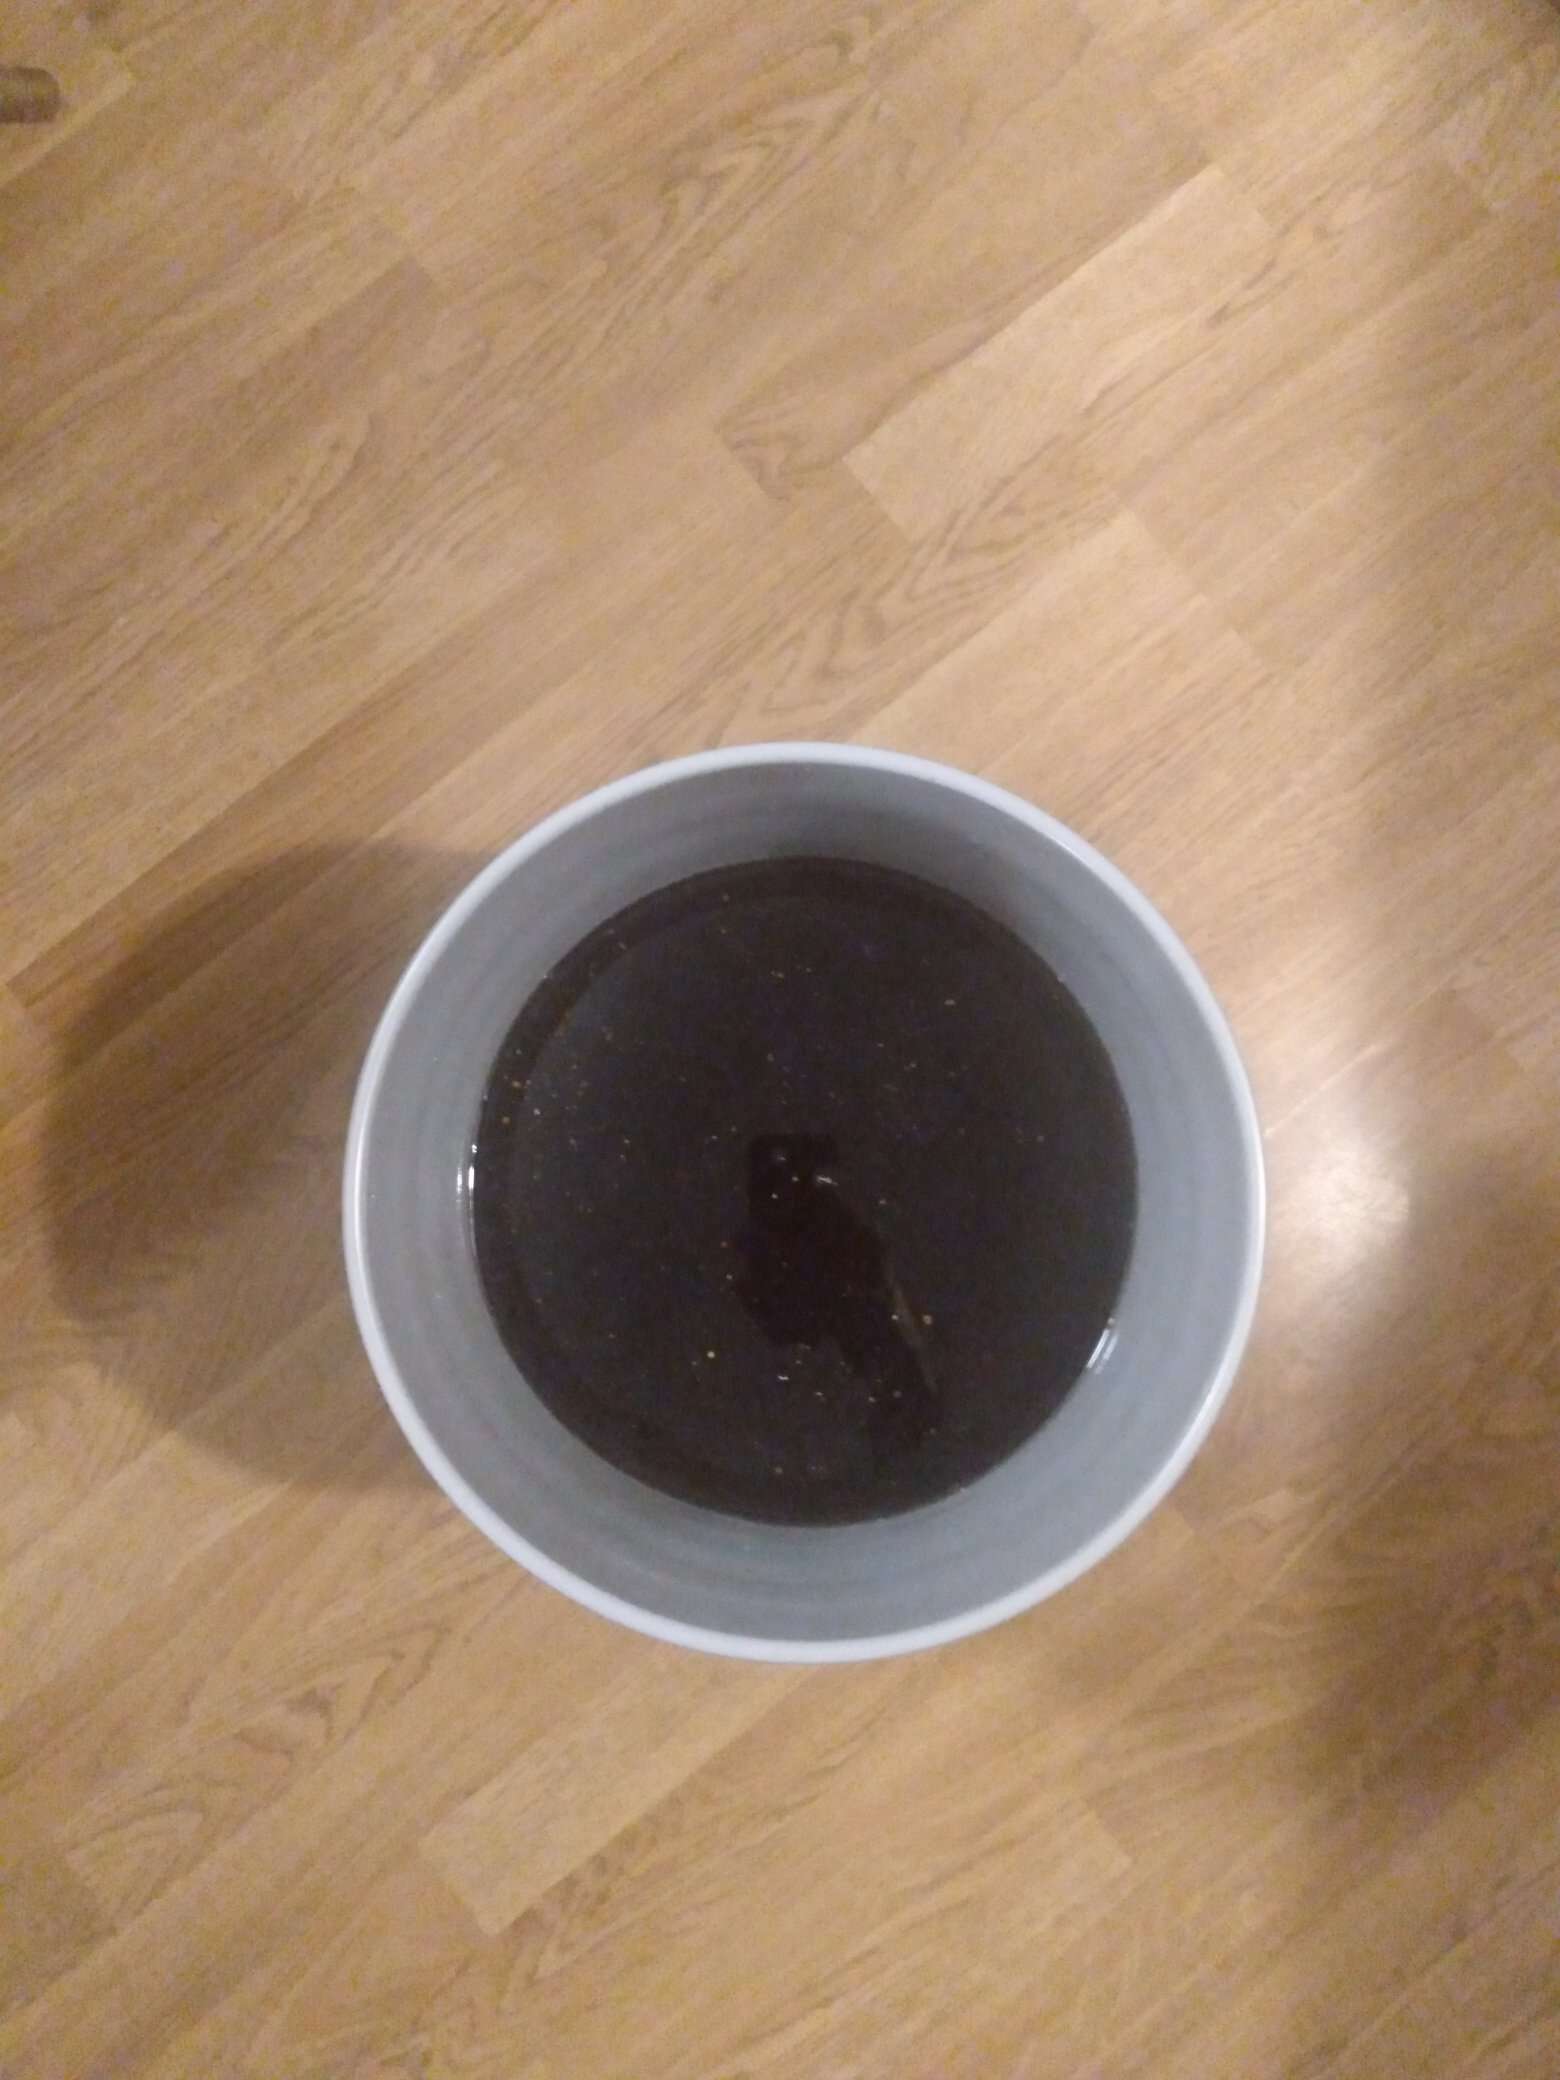
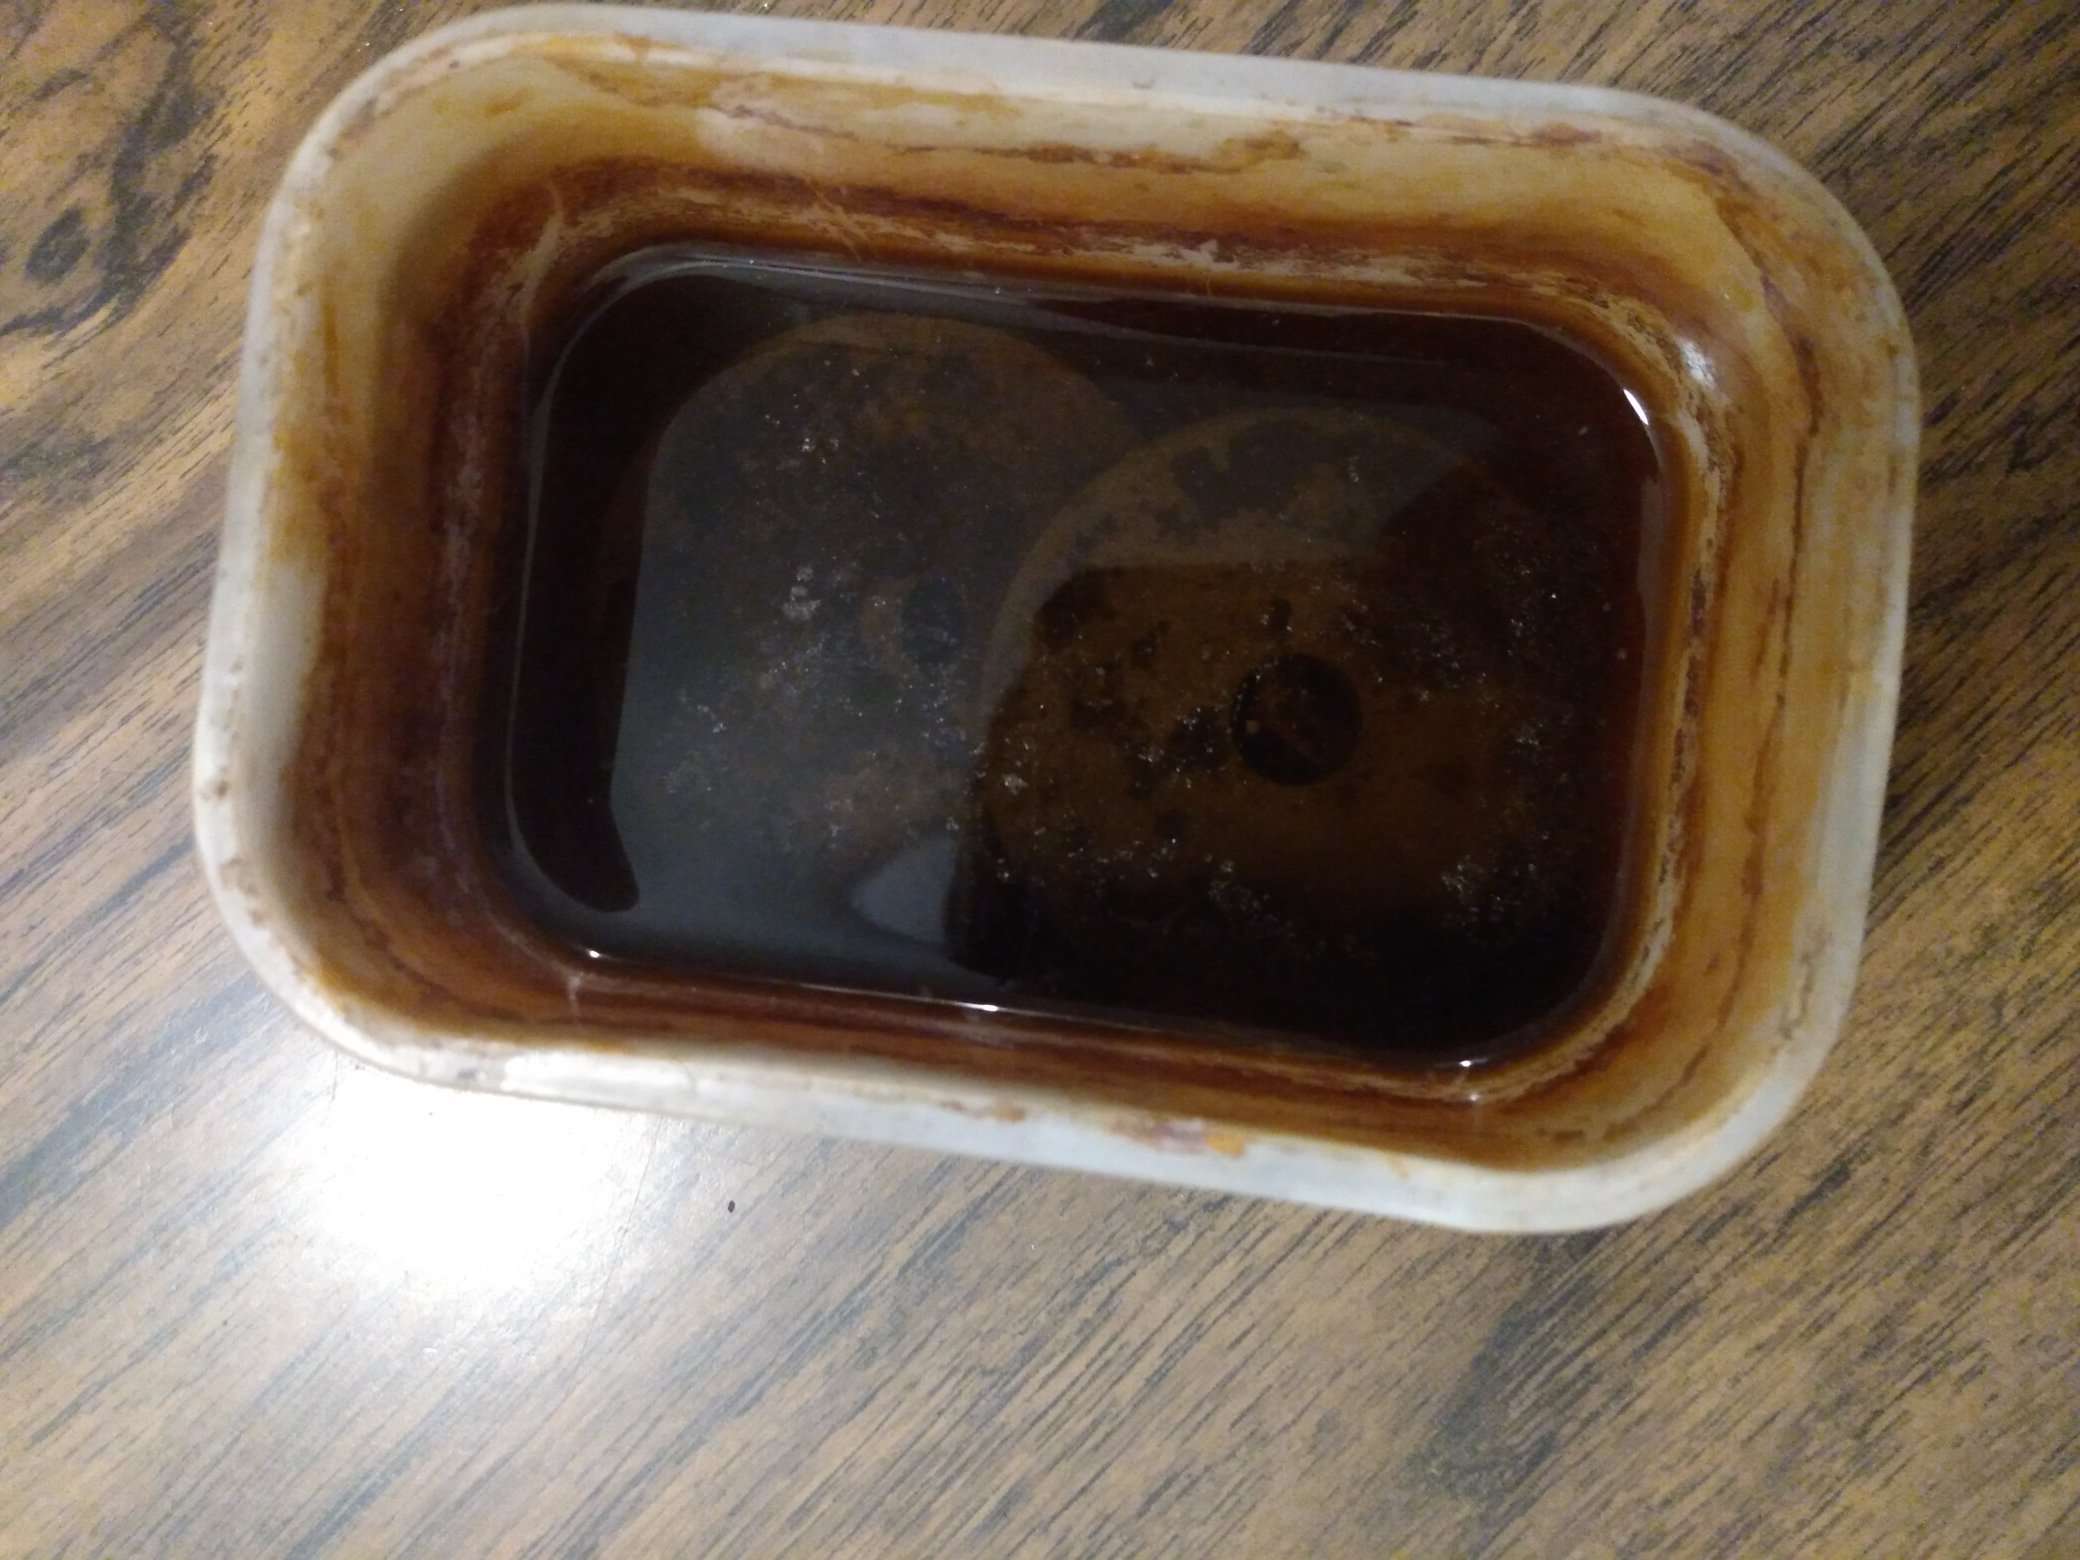
And here's a pic of a bit of the liquid, just to show how opaque it is.
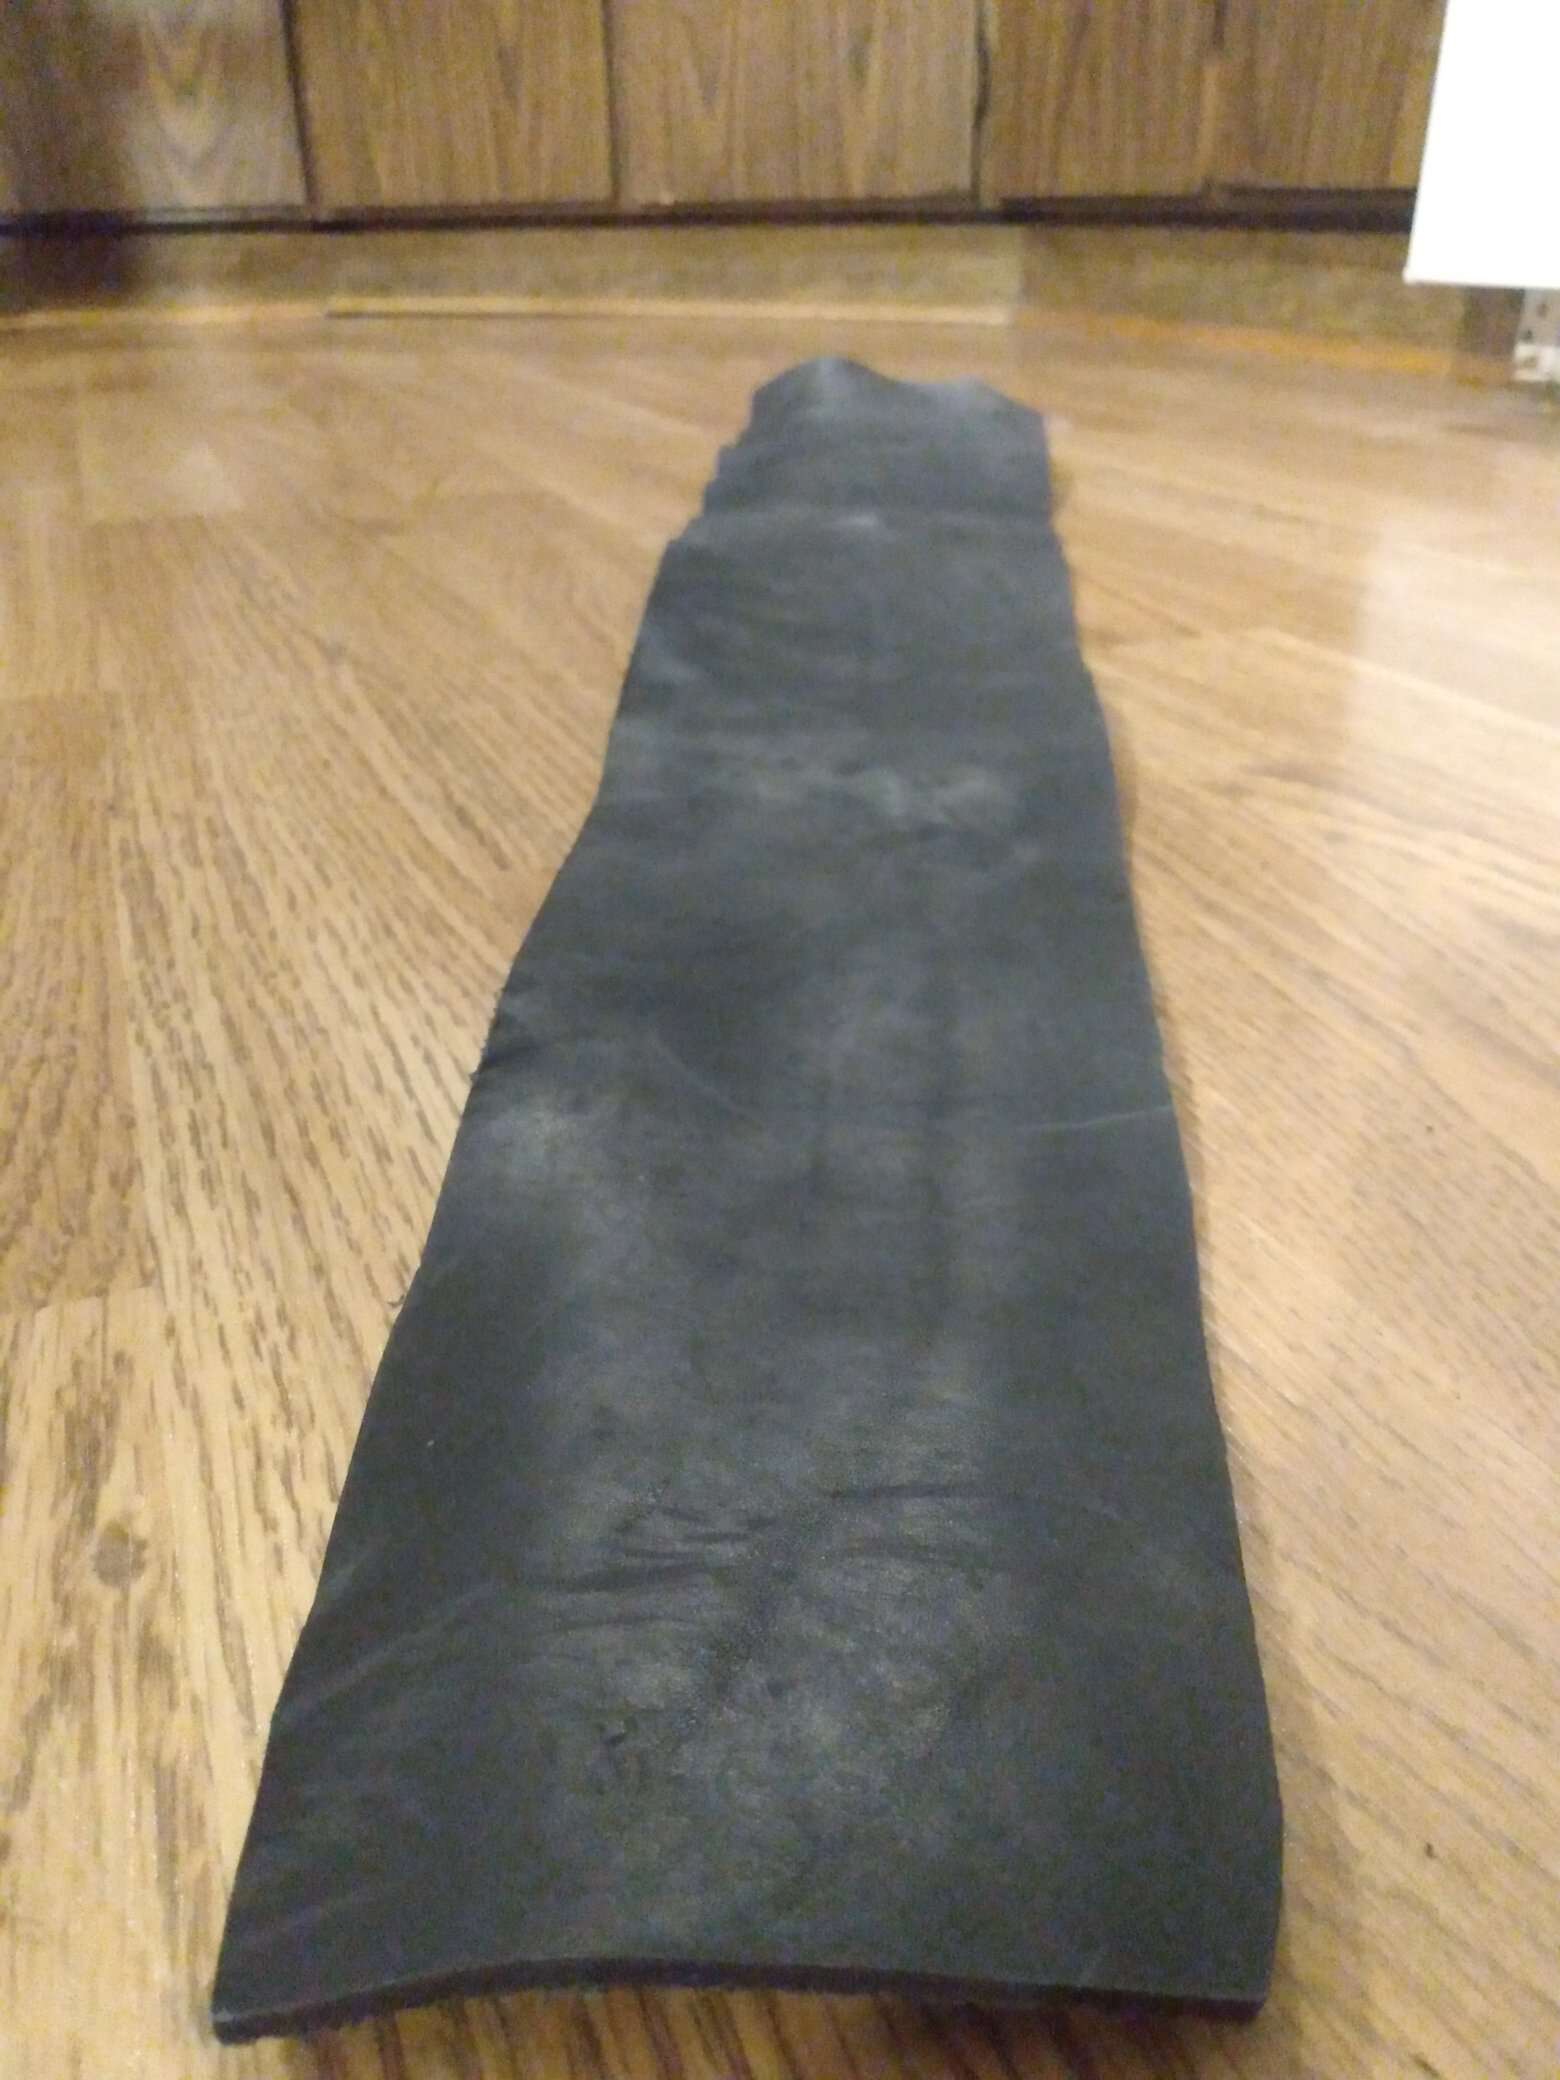
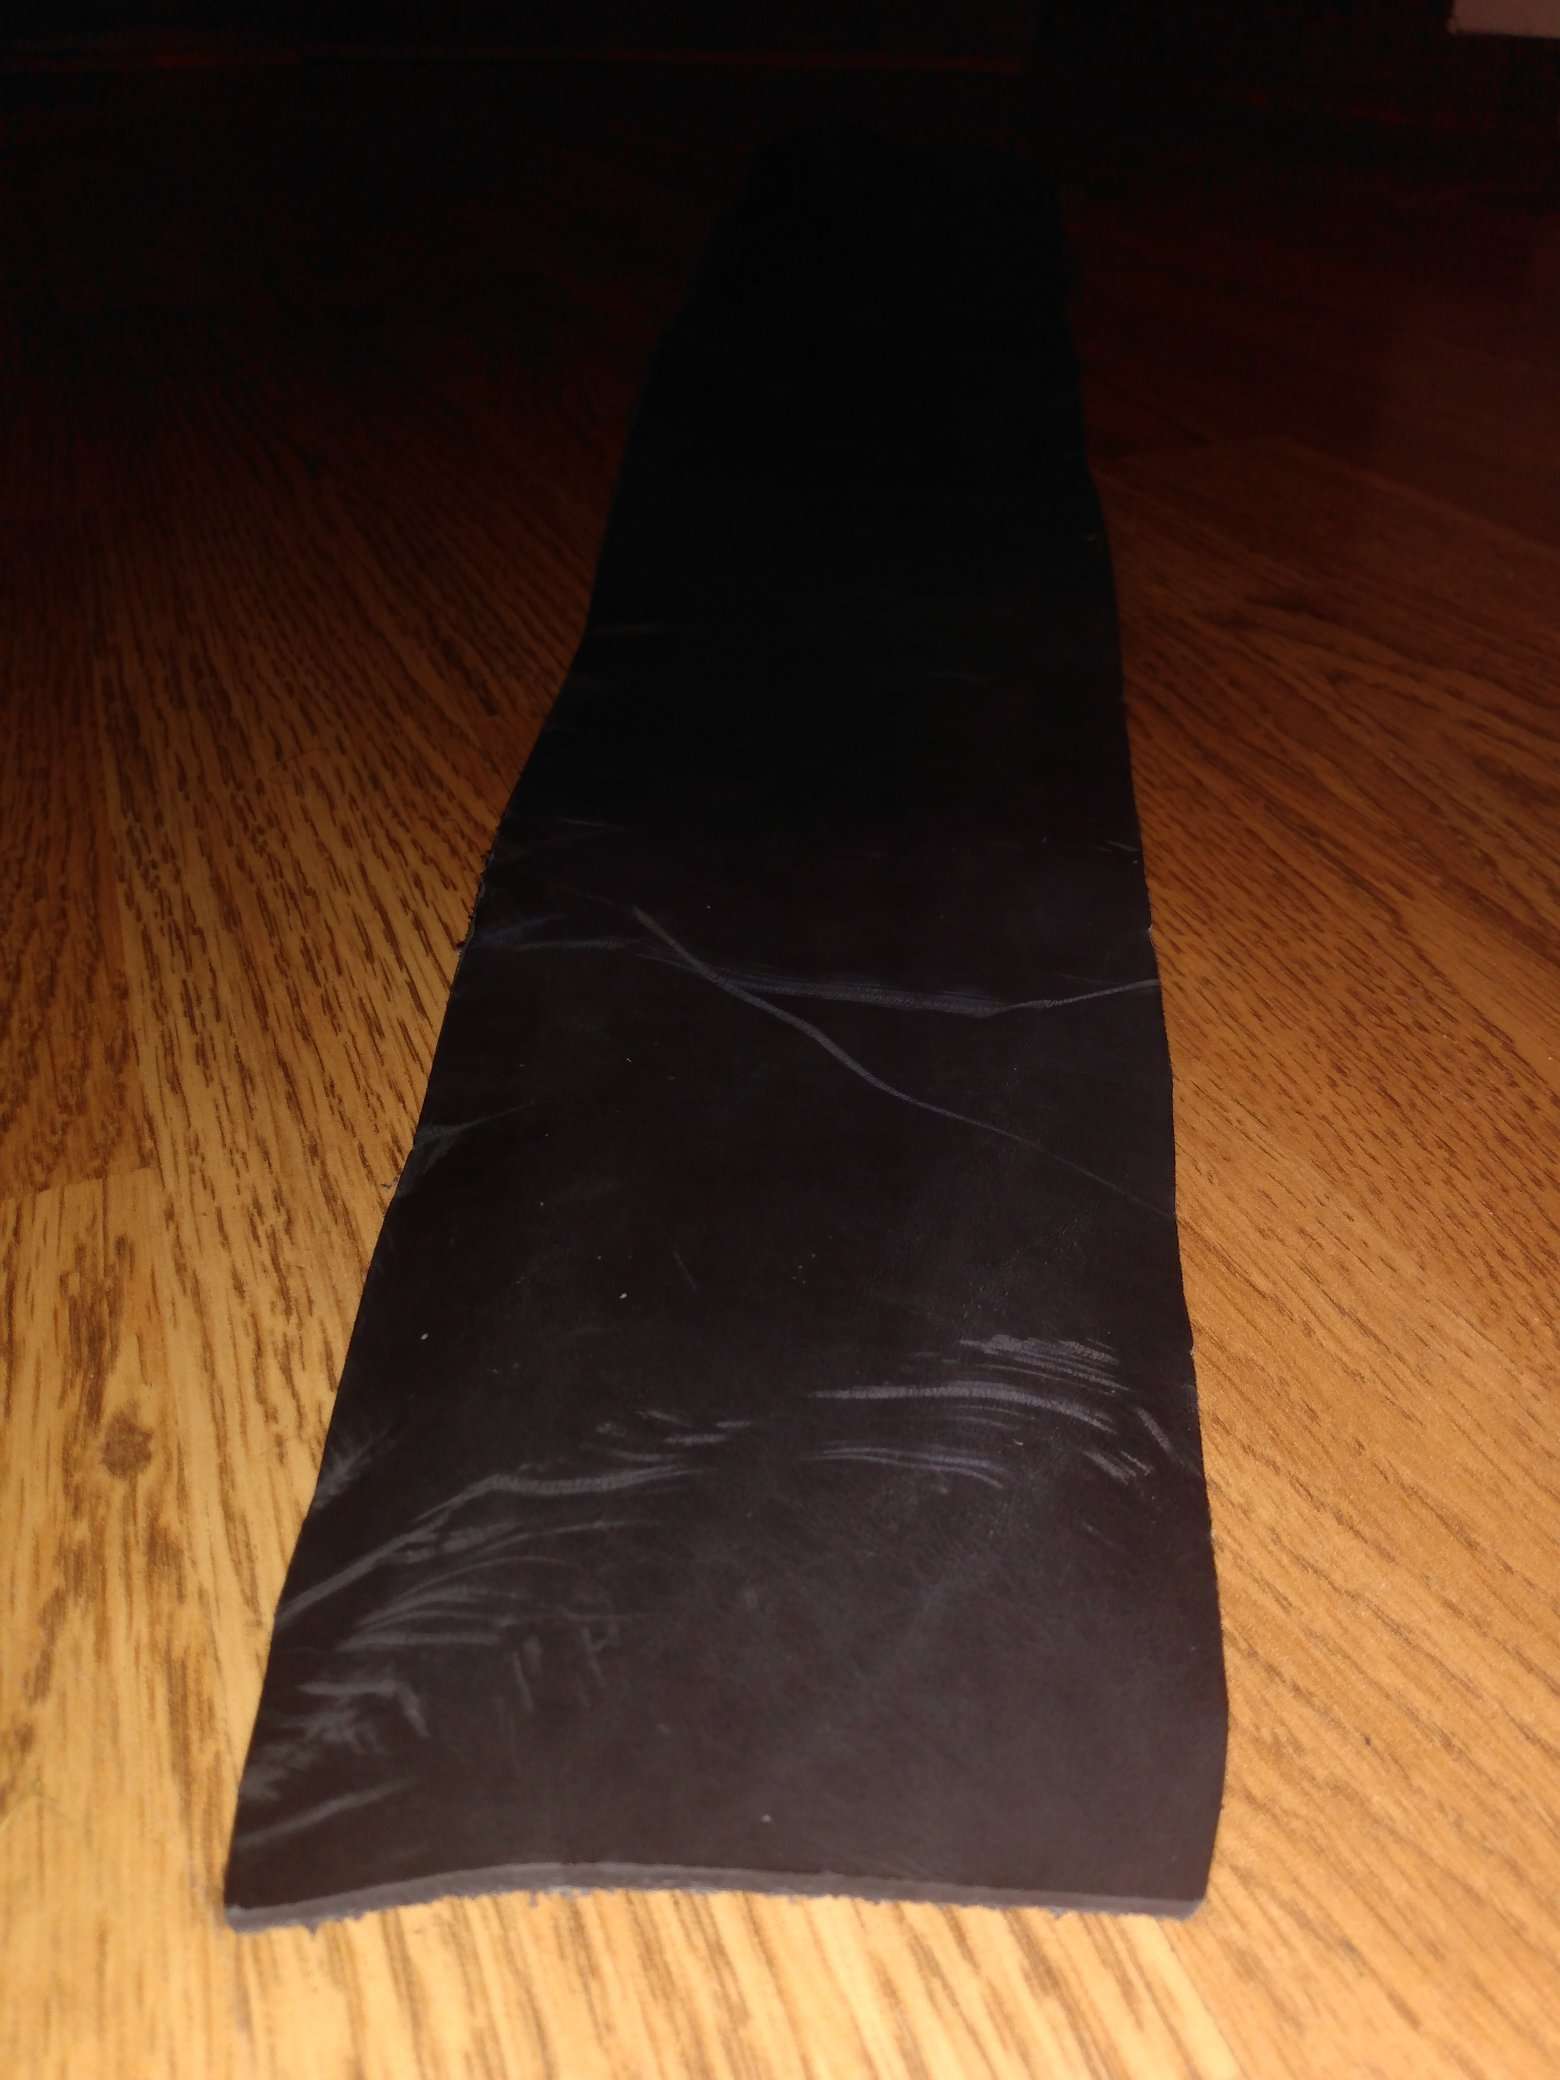
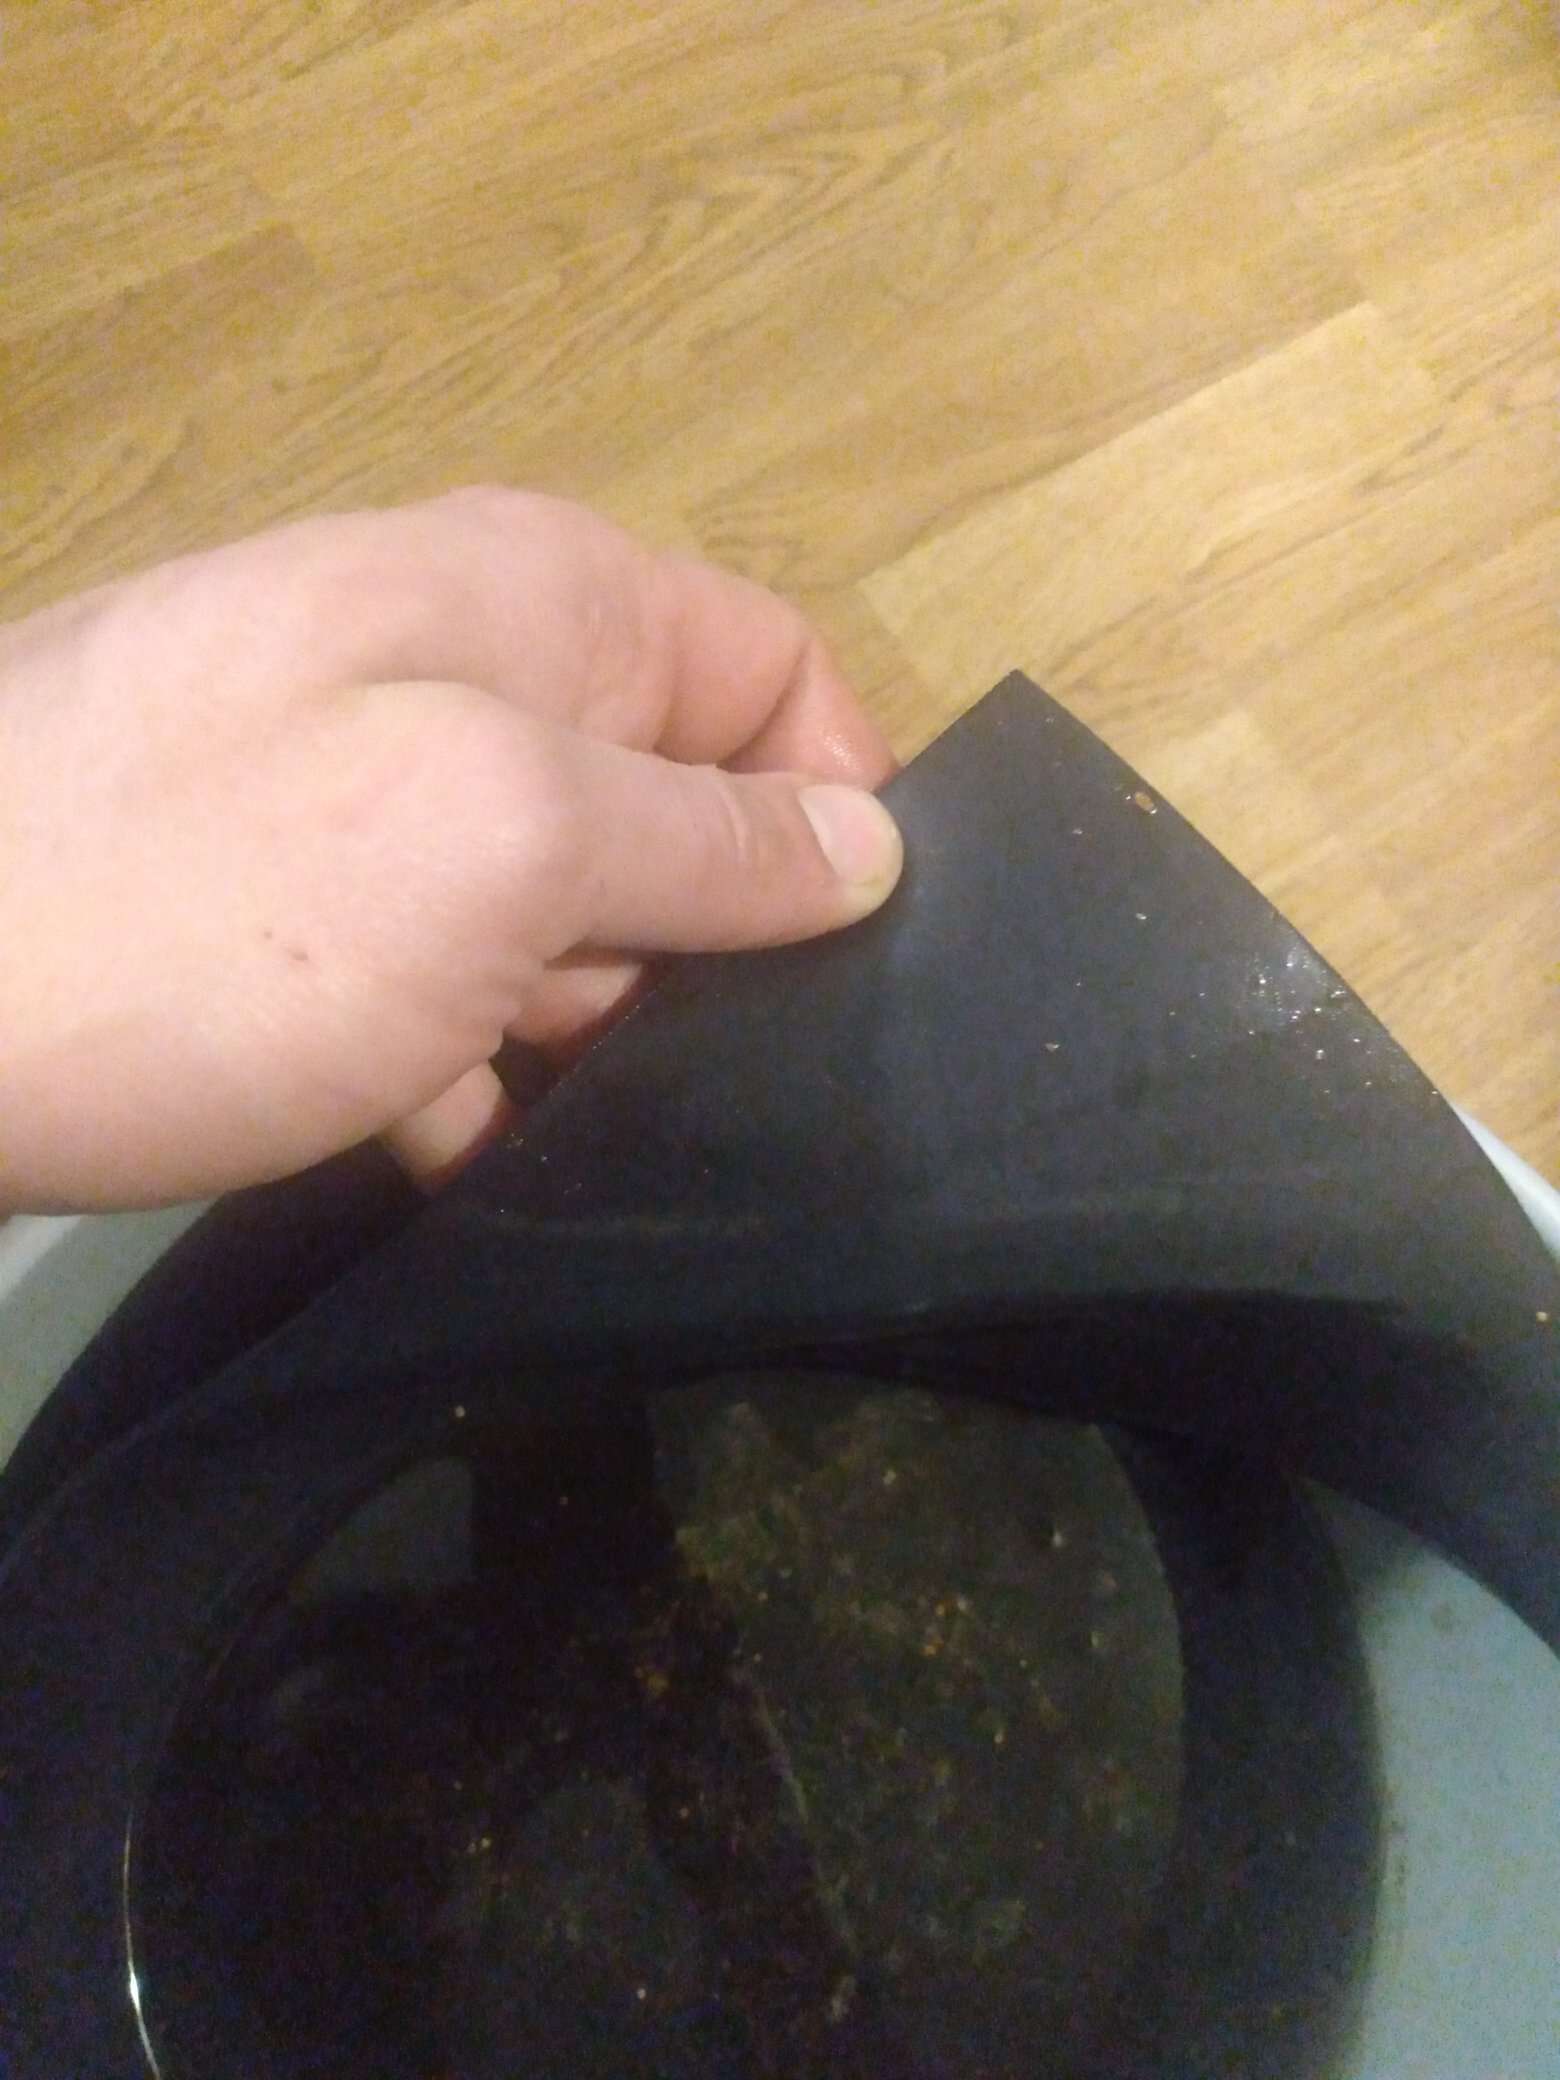
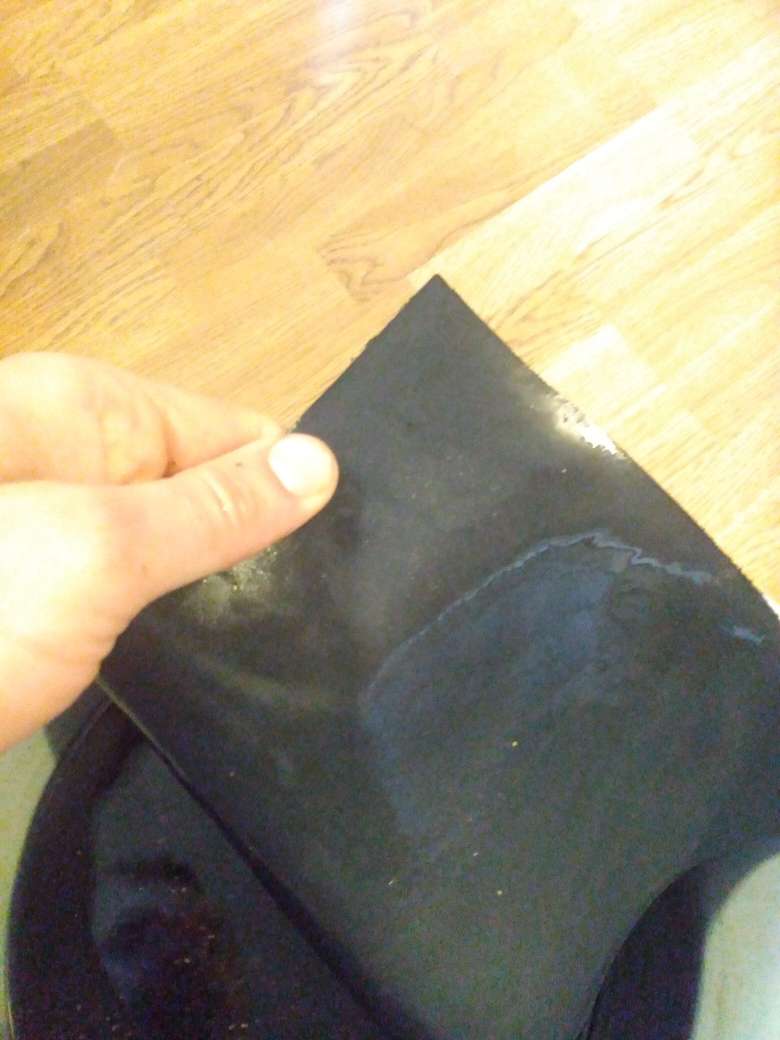
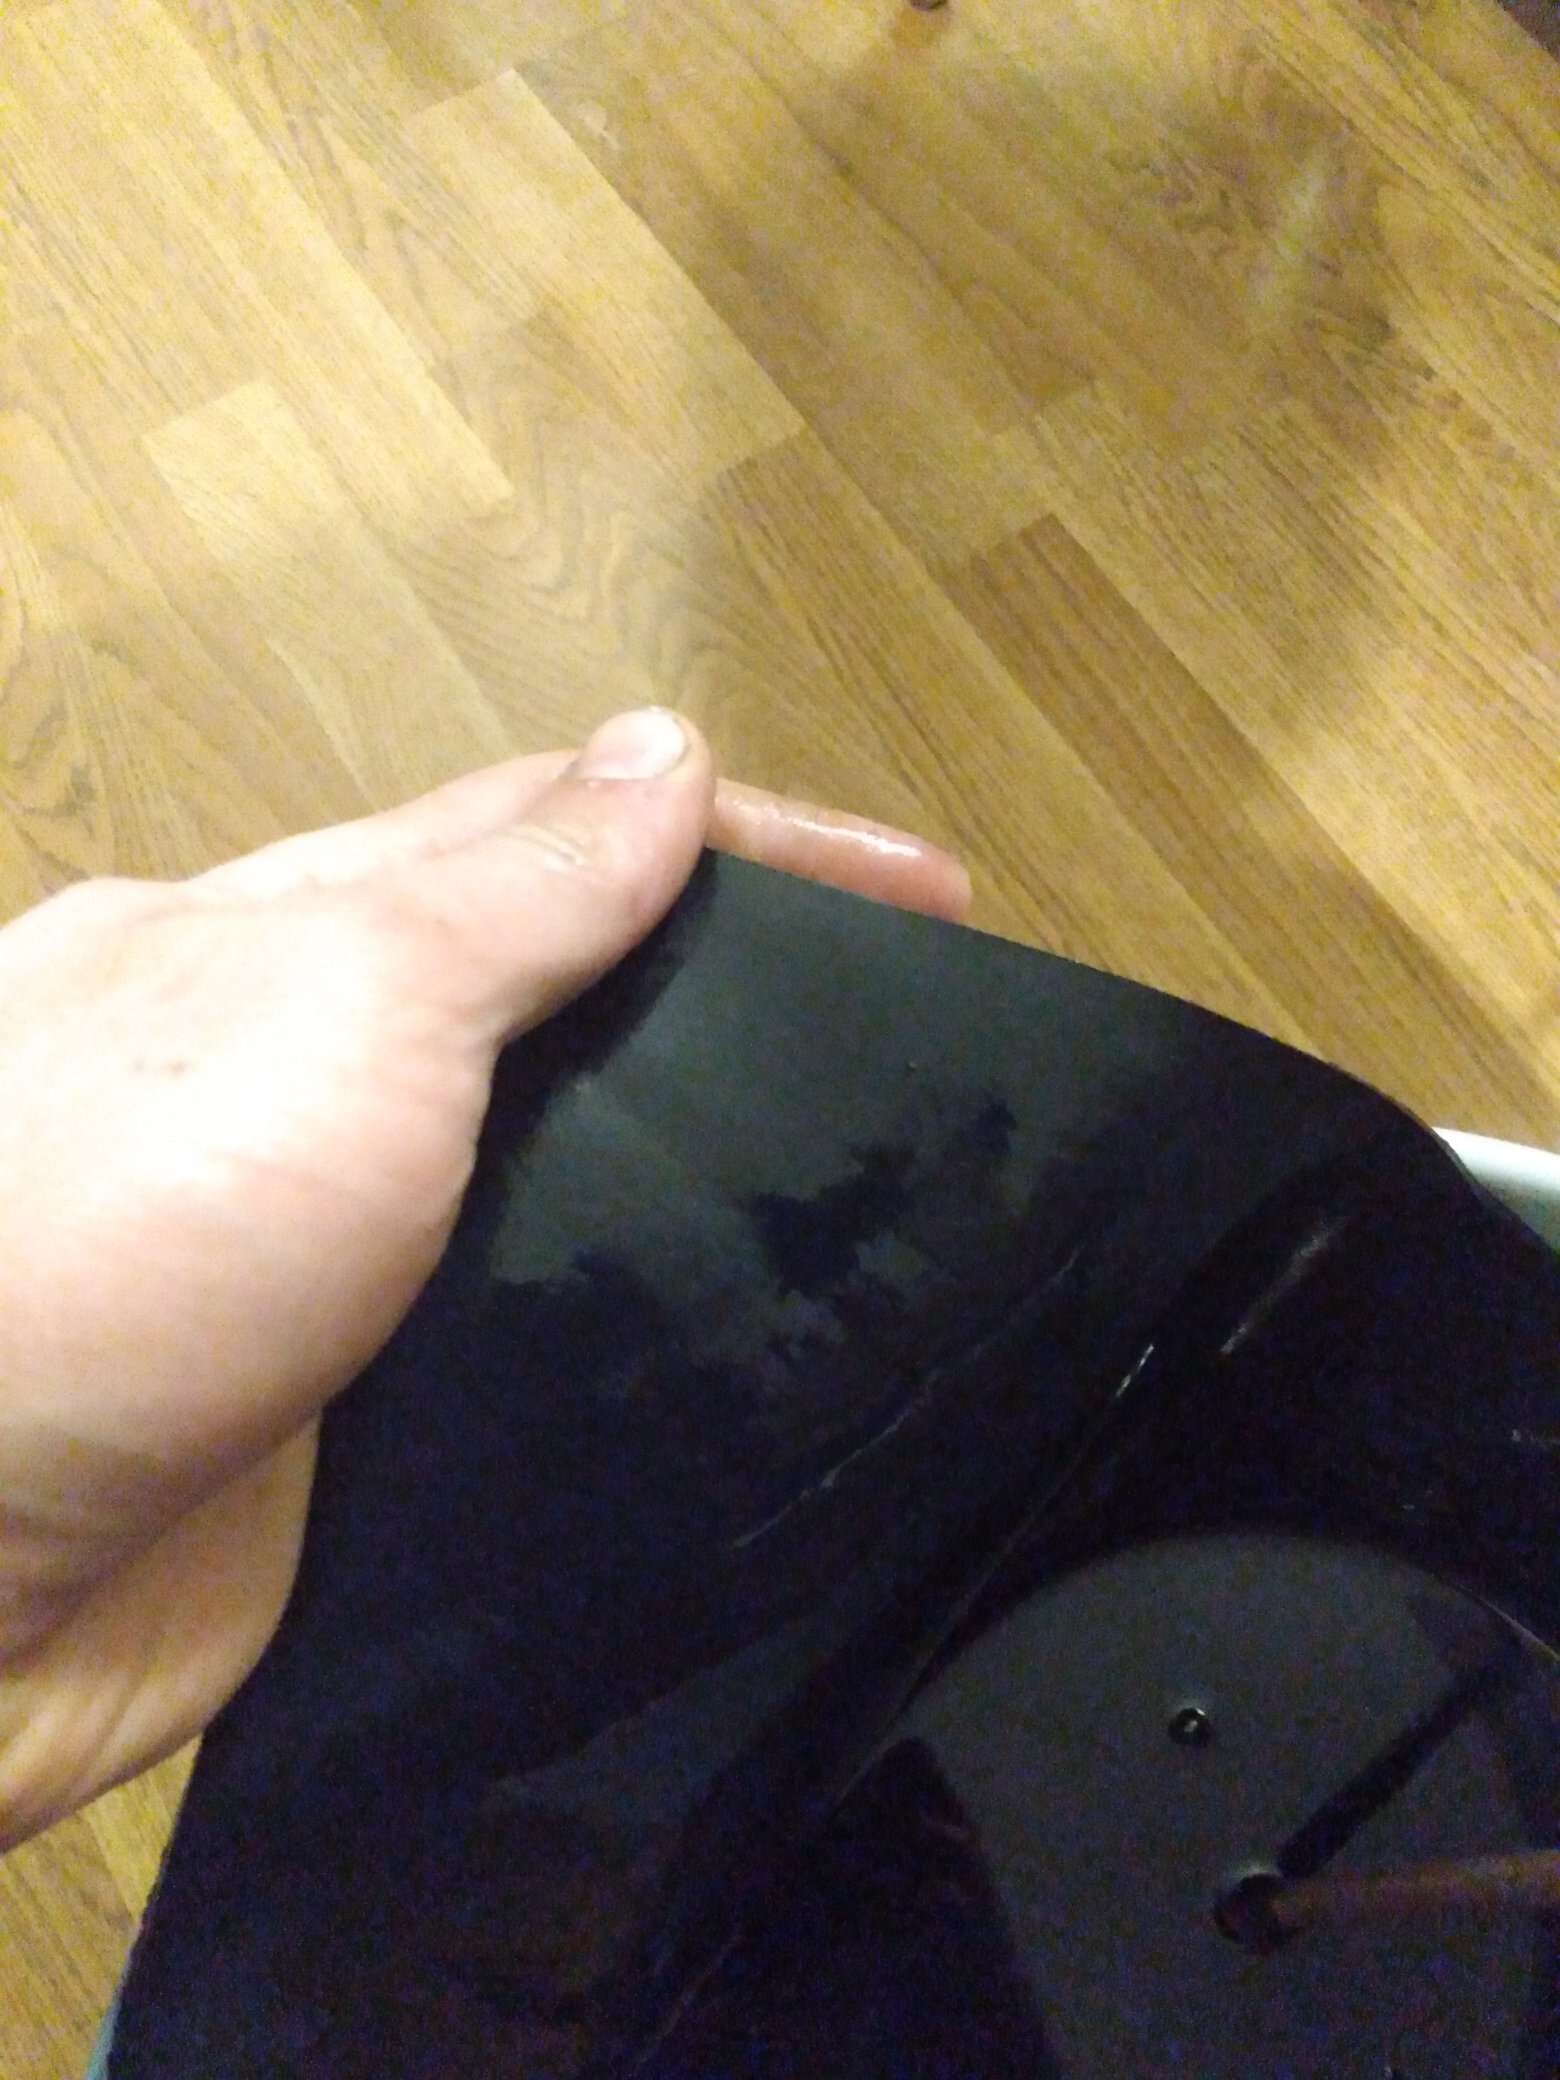
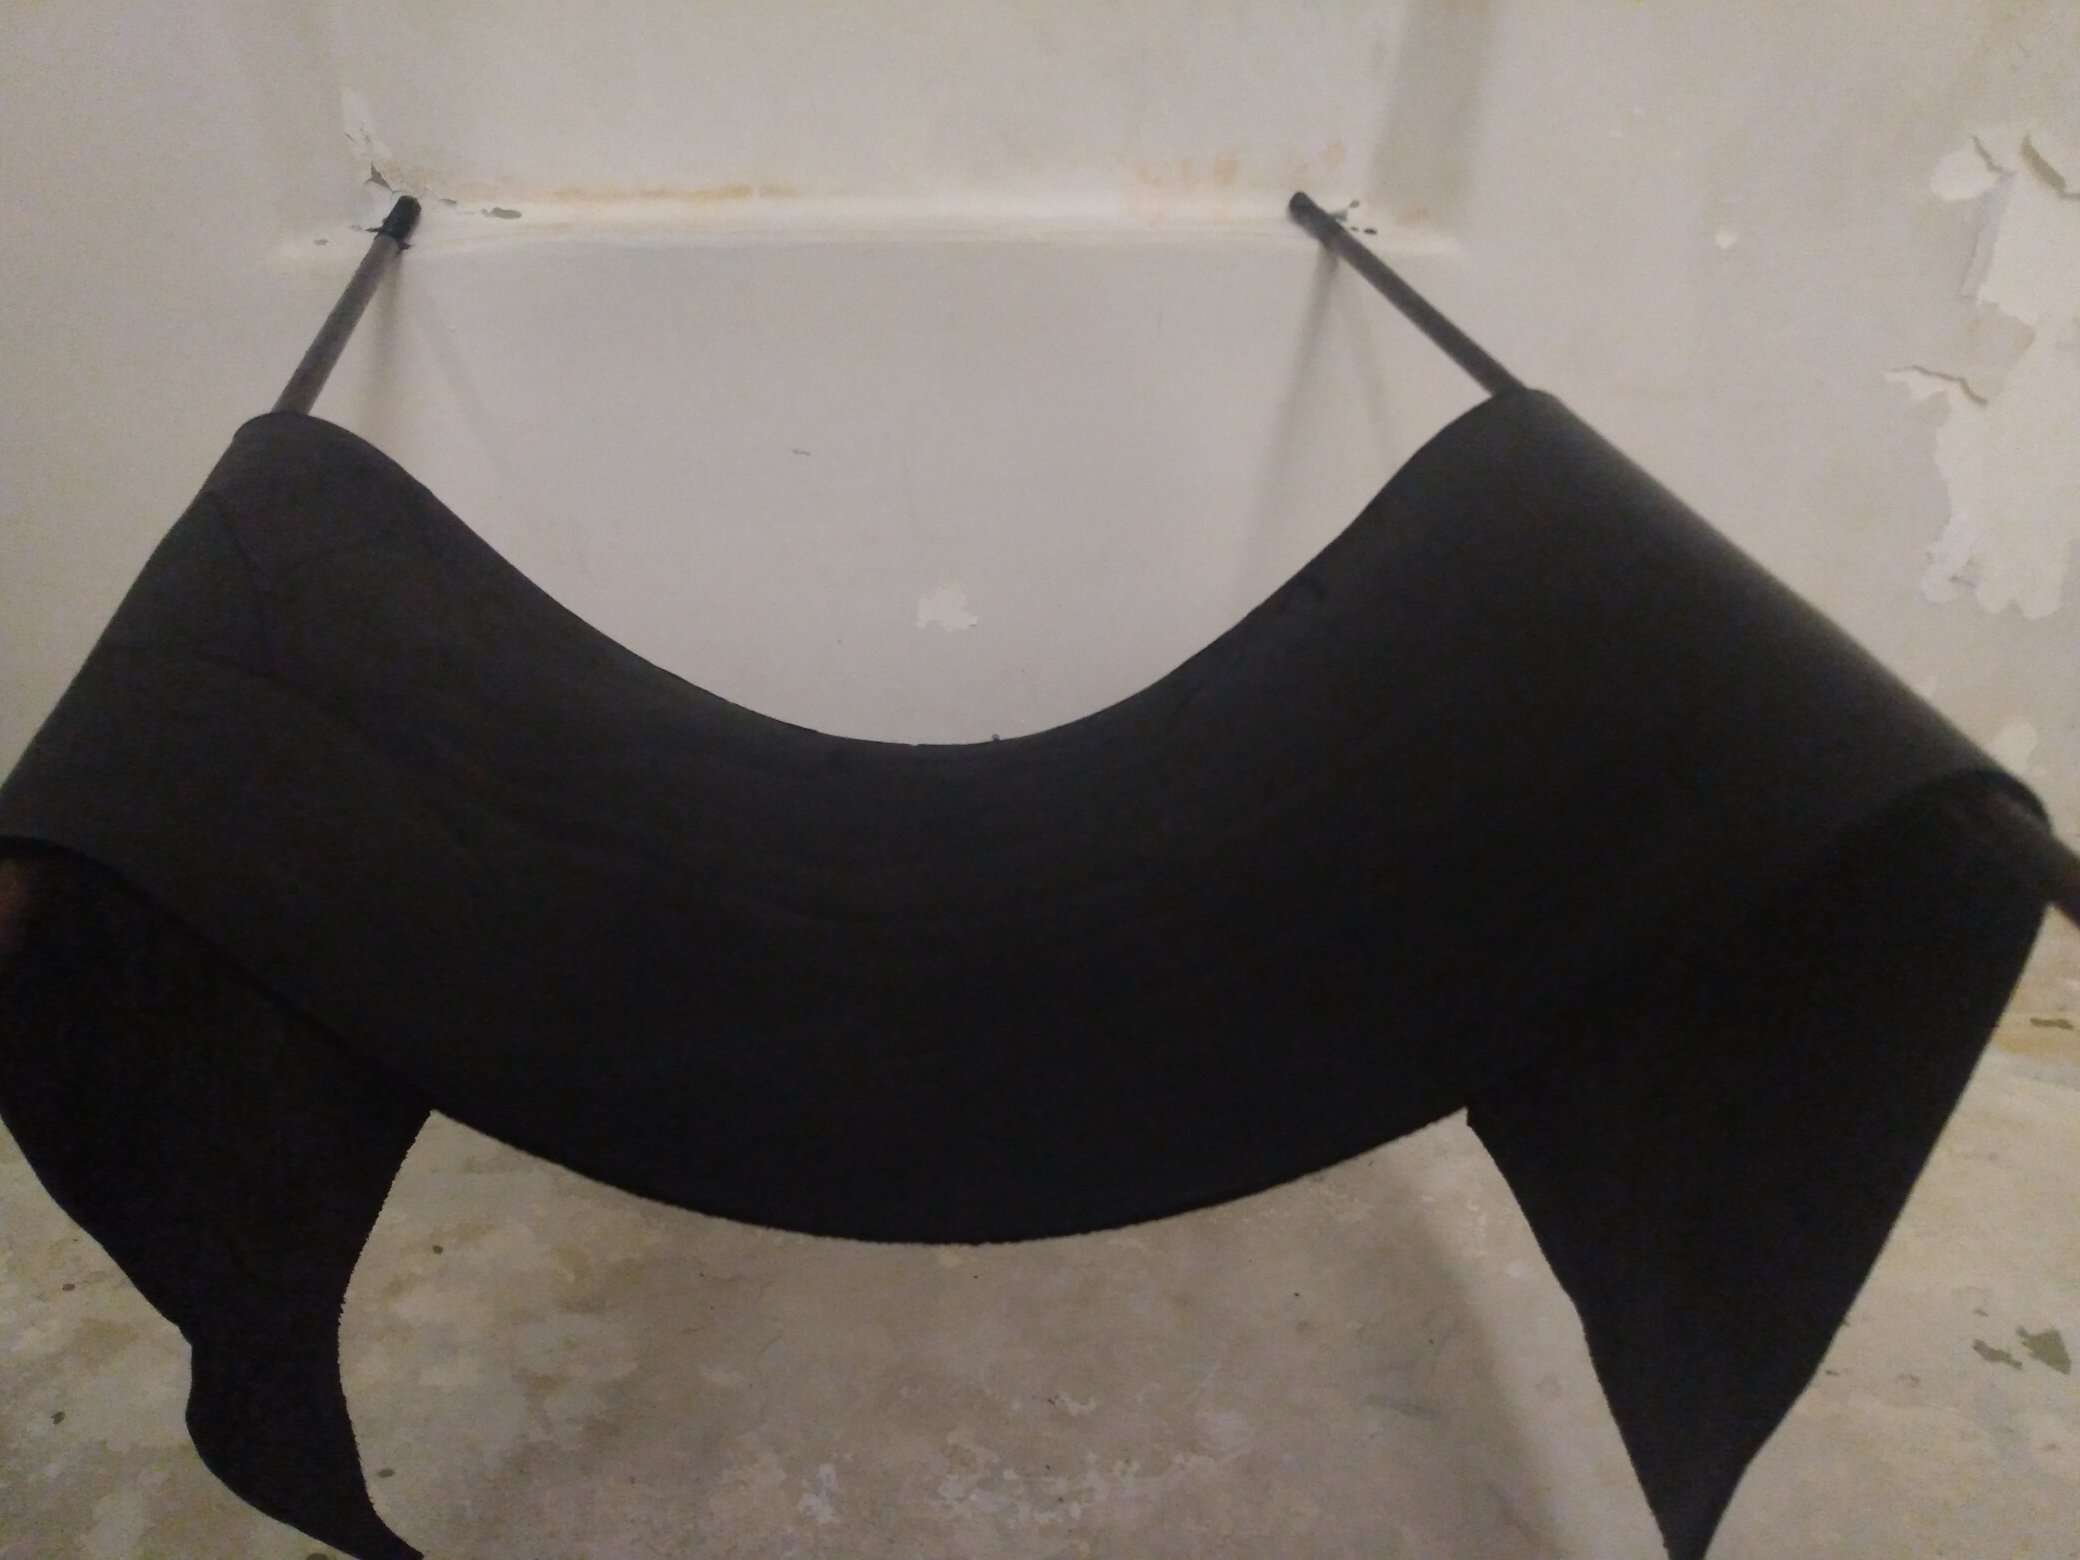
The leather is finally black!! I forget how long it was soaking since I added the scrap. Perhaps two to four days. I took the leather out, rinsed it in hot water, and hung it to dry. It got scratched on the scrap pieces, so it'll have a ...weathered look. Yeah, we'll market it as weathered. It may have been a poor idea to rinse the leather in hot water, since this can mess up the fiber structure. Next time, I would rinse it in something cooler.
Next step with the leather will be to cut out the shape and stitch it on the scabbard! But first, I need to make risers on the scabbard for all the cool designs I want on it. We'll see how that works out, though. Also, I have to oil the leather. But that'll be done after it's on the scabbard. I never did add the rust soup mix I started, because it wasn't done in time. The pieces of scrap I put in seem to have done the trick!
I had read online that this process would dye the leather through, rather than just on the surface. But when I cut into the leather, it was not dyed through! Perhaps this is because it was only in for a week or two. Or perhaps there were air bubbles trapped in the leather? That seems unlikely, though. I suspect a thinner leather would have dyed through. Maybe if I had agitated the leather to work the solution into the fibers more thoroughly, it would have dyed through...
Theories to test next time, I guess.
Here is a picture of the leather (after drying) from a cut corner.
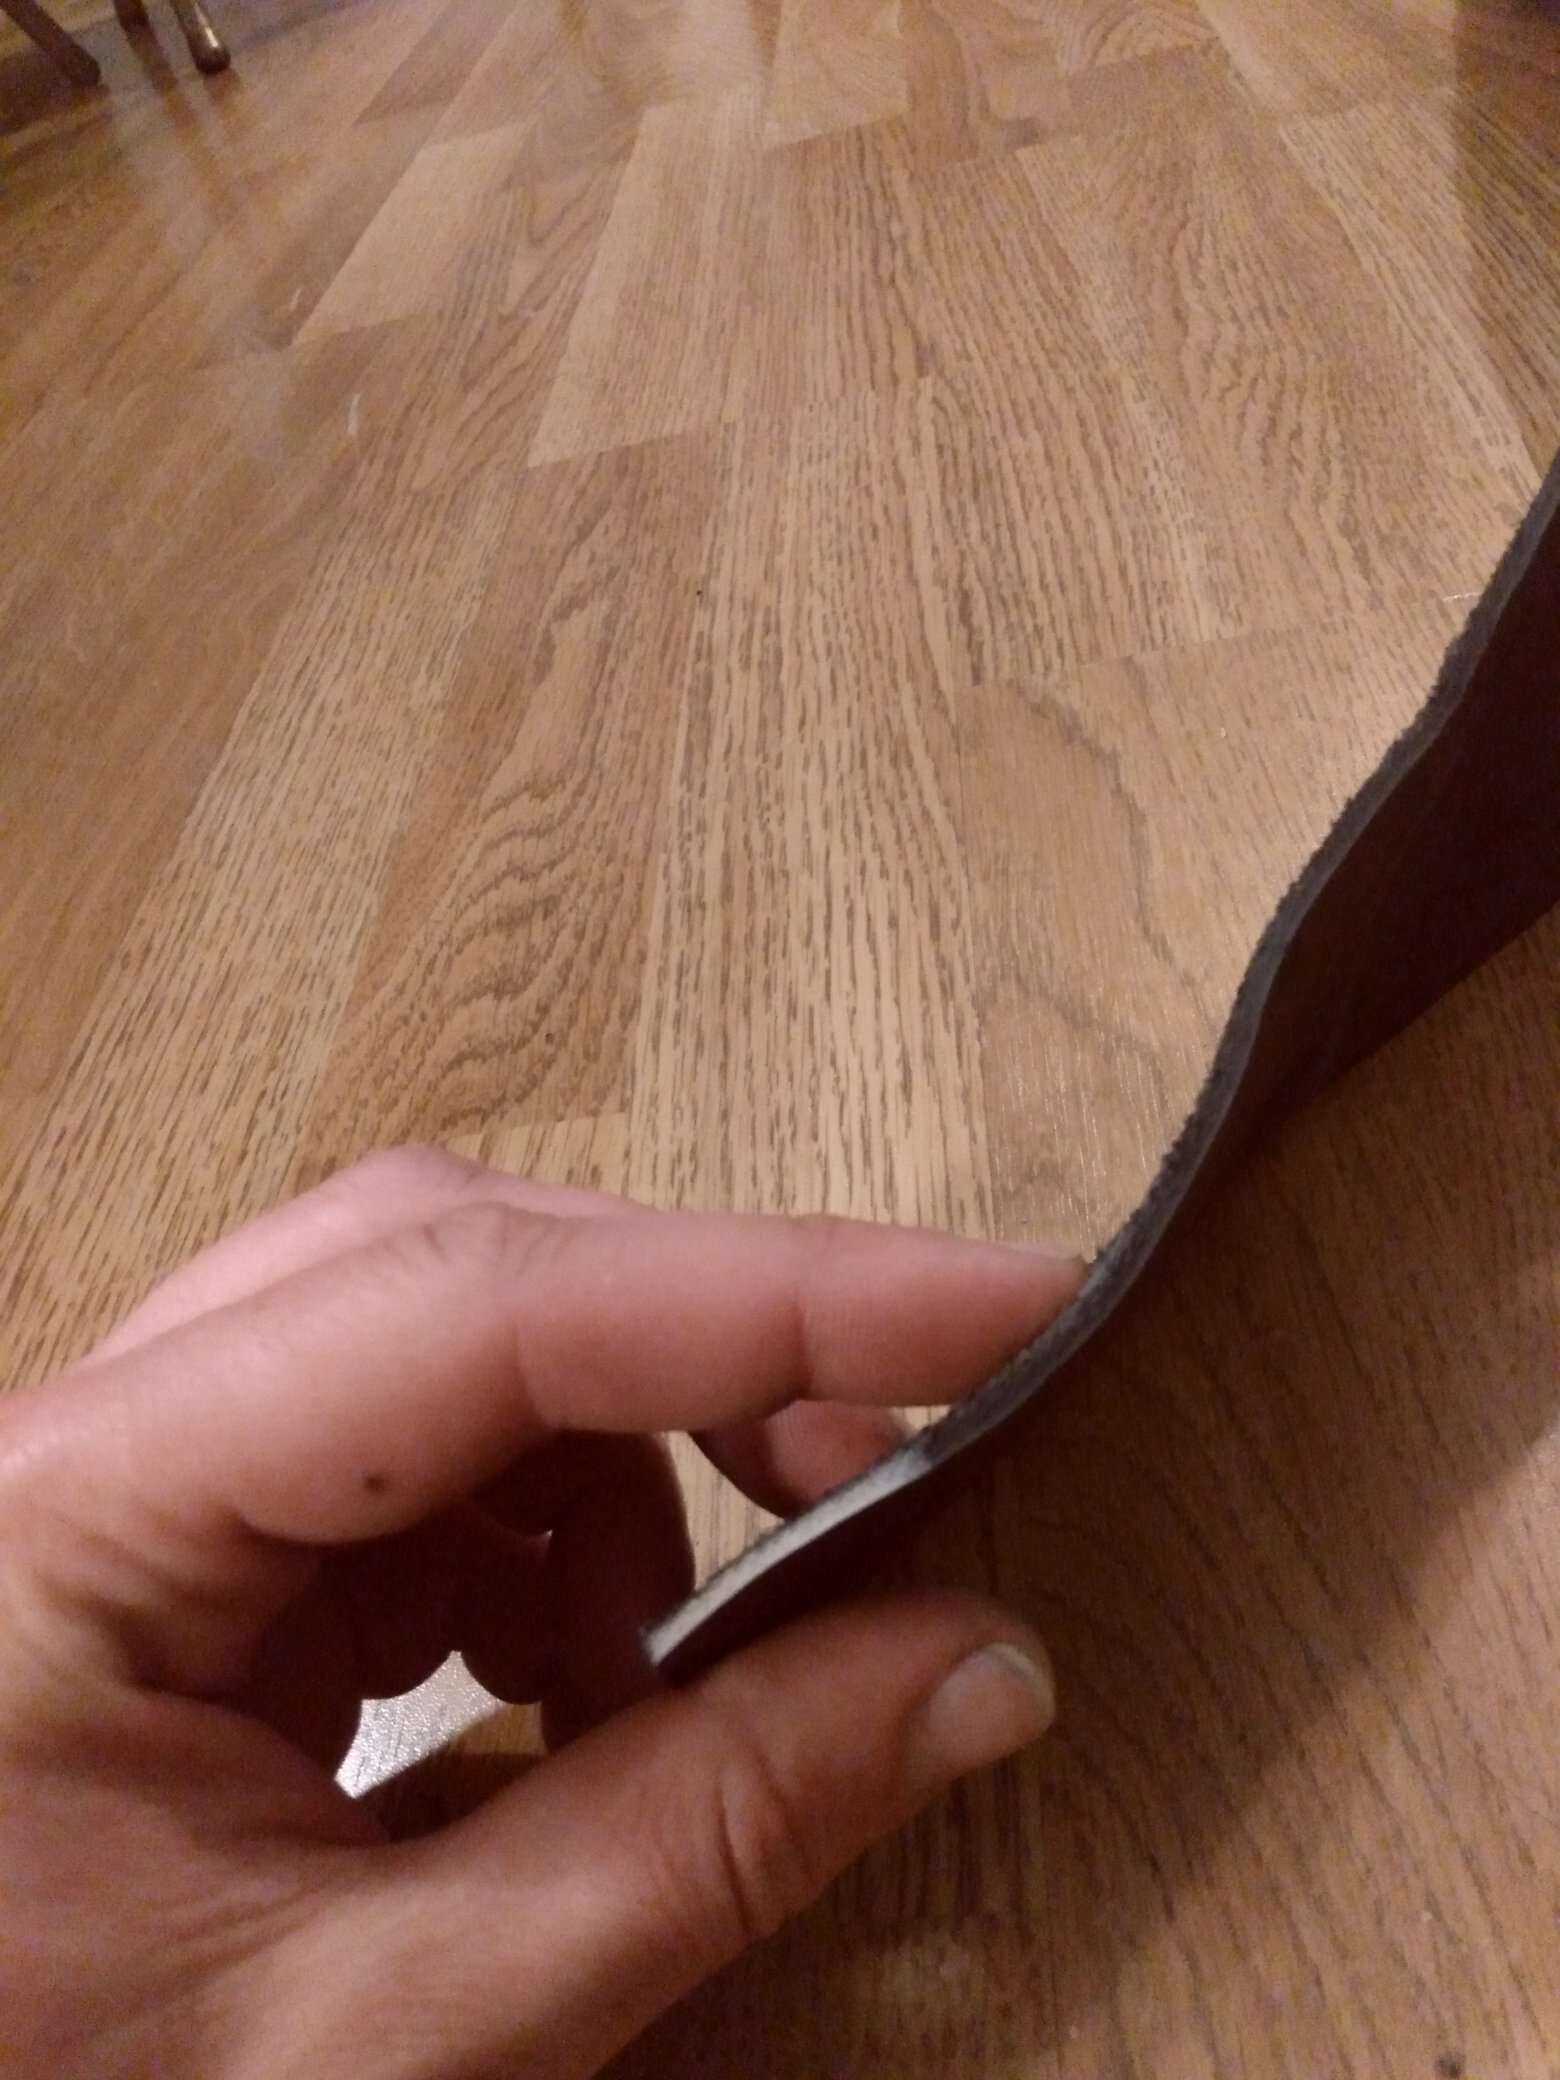
And here are a few pictures of the dried and cut leather. I didn't stretch it, so it's hard and stiff. It will loosen up when I soak it to form it to the scabbard, so I'm not too worried about it. I took a few pictures with different lighting to try to give an accurate depiction. The pictures don't quite match reality, but hopefully they give a good idea of the final product. The lighter one is closest to reality.